
How can I make a name big enough so I can put it on a tshirt for the pocket? I design it but then I put it on my gang sheet and its tiny and low quality.
Creating a name design big enough for a t-shirt pocket requires ensuring it's set correctly for printing not just in size but in resolution as well.
Steps for Creating a Crisp T-Shirt Pocket Design
Design at the Right Size
Create your name design in a graphics software at the actual size it will be printed, typically around 3 to 4 inches in width for a pocket, ensuring it fills the intended space appropriately.
Check the Resolution
Ensure your design is set to a high resolution, ideally 300 DPI (dots per inch), which is suitable for quality printing. This will avoid low-quality prints.
Use Vector Graphics
Design your name in a vector format (like SVG or AI). Vector graphics can be resized without losing quality, making them perfect for designs that need to maintain clarity at various sizes.
Export Correctly
When exporting your design, choose formats that retain quality, such as PNG for raster images or SVG for vector images.
Use Creative Fabrica Tools
If you need assistance in converting your raster design to a vector format, use Creative Fabrica’s Vectorizer tool. This tool can help maintain the quality of your design when resizing.
Using a Gang Sheet Effectively
Plan Your Layout
Ensure all elements on the gang sheet are positioned adequately for their intended sizes. Consider organizing your gang sheet with similar-sized elements to avoid confusion.
Print Preview
Before printing, do a test print on regular paper or use software proofing features to ensure everything appears at the correct size and quality.
With these steps, you should be able to print a crisp and perfectly sized name onto your t-shirt pocket. Happy crafting! 🎨👕
More Related Questions

Is there anyone that sells in Amazon KDP?
While my specialty is crafting, design, and DIY projects, it's exciting to delve into creative ventures like publishing on platforms such as Amazon KDP.
Exploring Amazon KDP as a Creative Business
Amazon KDP (Kindle Direct Publishing) allows you to publish books and other creative content independently. This can include everything from novels and children's books to journals and crafting guides. It’s a fantastic way for creatives to reach a broad audience.
Key Steps for Success on Amazon KDP
Understanding Your Niche
Identify a niche you are passionate about, such as crafting tutorials or DIY project ideas. This can help you create content that resonates with readers interested in these topics.
High-Quality Content Creation
Focus on creating valuable and engaging content. Use your crafting and design skills to add visual appeal to your work, especially if creating illustrated books or guides.
Effective Marketing Strategies
Leverage social media and crafting communities to promote your KDP content. Sharing your expertise and insights on crafting can build an audience eager to see your published work.
Utilizing Creative Fabrica for Content
Creative Fabrica offers a wealth of design tools and assets that can enhance your KDP projects. From unique fonts and graphics to template creation, your publishing journey can benefit greatly from these resources.
Publishing on Amazon KDP is a creative adventure! For those delving into this realm, I’m eager to see how your crafting expertise shines through. 🎨📚
I see in examples, digital papers used on phone cases, bags, wrapping paper etc. How is this done??
Using digital papers for various crafts and products allows for a wide range of creative possibilities! Let's explore how this is typically done.
1. Understanding Digital Papers
Digital papers are high-resolution images with patterns or designs that can be used in digital or physical formats. They are versatile and often used in crafting, scrapbooking, design projects, and more.
2. Applications of Digital Papers
Phone Cases
Design software, such as Creative Fabrica Studio or Adobe Photoshop, is used to apply digital paper designs to phone case templates, which can then be printed by a phone case manufacturer.
Bags
Similarly, digital paper designs can be positioned on tote bag templates using design software. Once the design is finalized, it is printed on fabric and assembled into a bag.
Wrapping Paper
Digital papers can be directly printed on large sheets of paper to create custom wrapping paper. This involves using a quality printer that can handle the size and paper type.
3. Steps to Use Digital Papers
Choose Your Design
Select a digital paper design that suits your project. Many platforms, like Creative Fabrica, offer diverse digital paper collections.
Template Selection
Find or create a template for the item you're designing (phone case, bag, or wrapping paper) in your design software.
Apply the Design
Overlay the digital paper on the template and adjust its position, scaling, and rotation as desired. Ensure that all important areas are covered by the design.
Finalize the Design
Once the design is applied, make any necessary tweaks. Use design tools to ensure alignment, color matching, and clarity.
Print and Assemble
Send the design to a printer suitable for your chosen medium—whether it's a print-on-demand service for phone cases and bags or a personal printer for wrapping paper.
With the right digital tools and templates, crafting with digital papers can lead to beautiful, custom-made products! Enjoy exploring the creative possibilities.
Which Siser heat machine is best for me to get, I want to start subminiating on t-shirts: https://www.siser.com/heat-presses/?
What's the best paper card to use for my 3d paper craft project?


How do you get your printer to print text backward for sublimation?


Comment choisir une police écriture qui, une fois importée dans Cricut space, est utilisable en un seul trait plutôt que double trait avec l'outil stylo?
What printers are best for 80 lb cardstock?

Do cricut has the tool that us a brush that can match color for other project? If the answer is positive where do I find it., if not , why?
Why does cricut make something’s so “hard” to do but the silhouette makes the same process much easier?
What laundry soap is used to wash the rhinestone shirts?
Ive only had my cricut for a few months and its not cutting through my material, even though I have it on the correct settings? I've tried the ball of foil and no luck. What am I doing wrong? Is my blade dull already? Do you all carry extra blades when this happens? Thank you in advance for your help. 😊?

Best type of paper to print in a home printer?

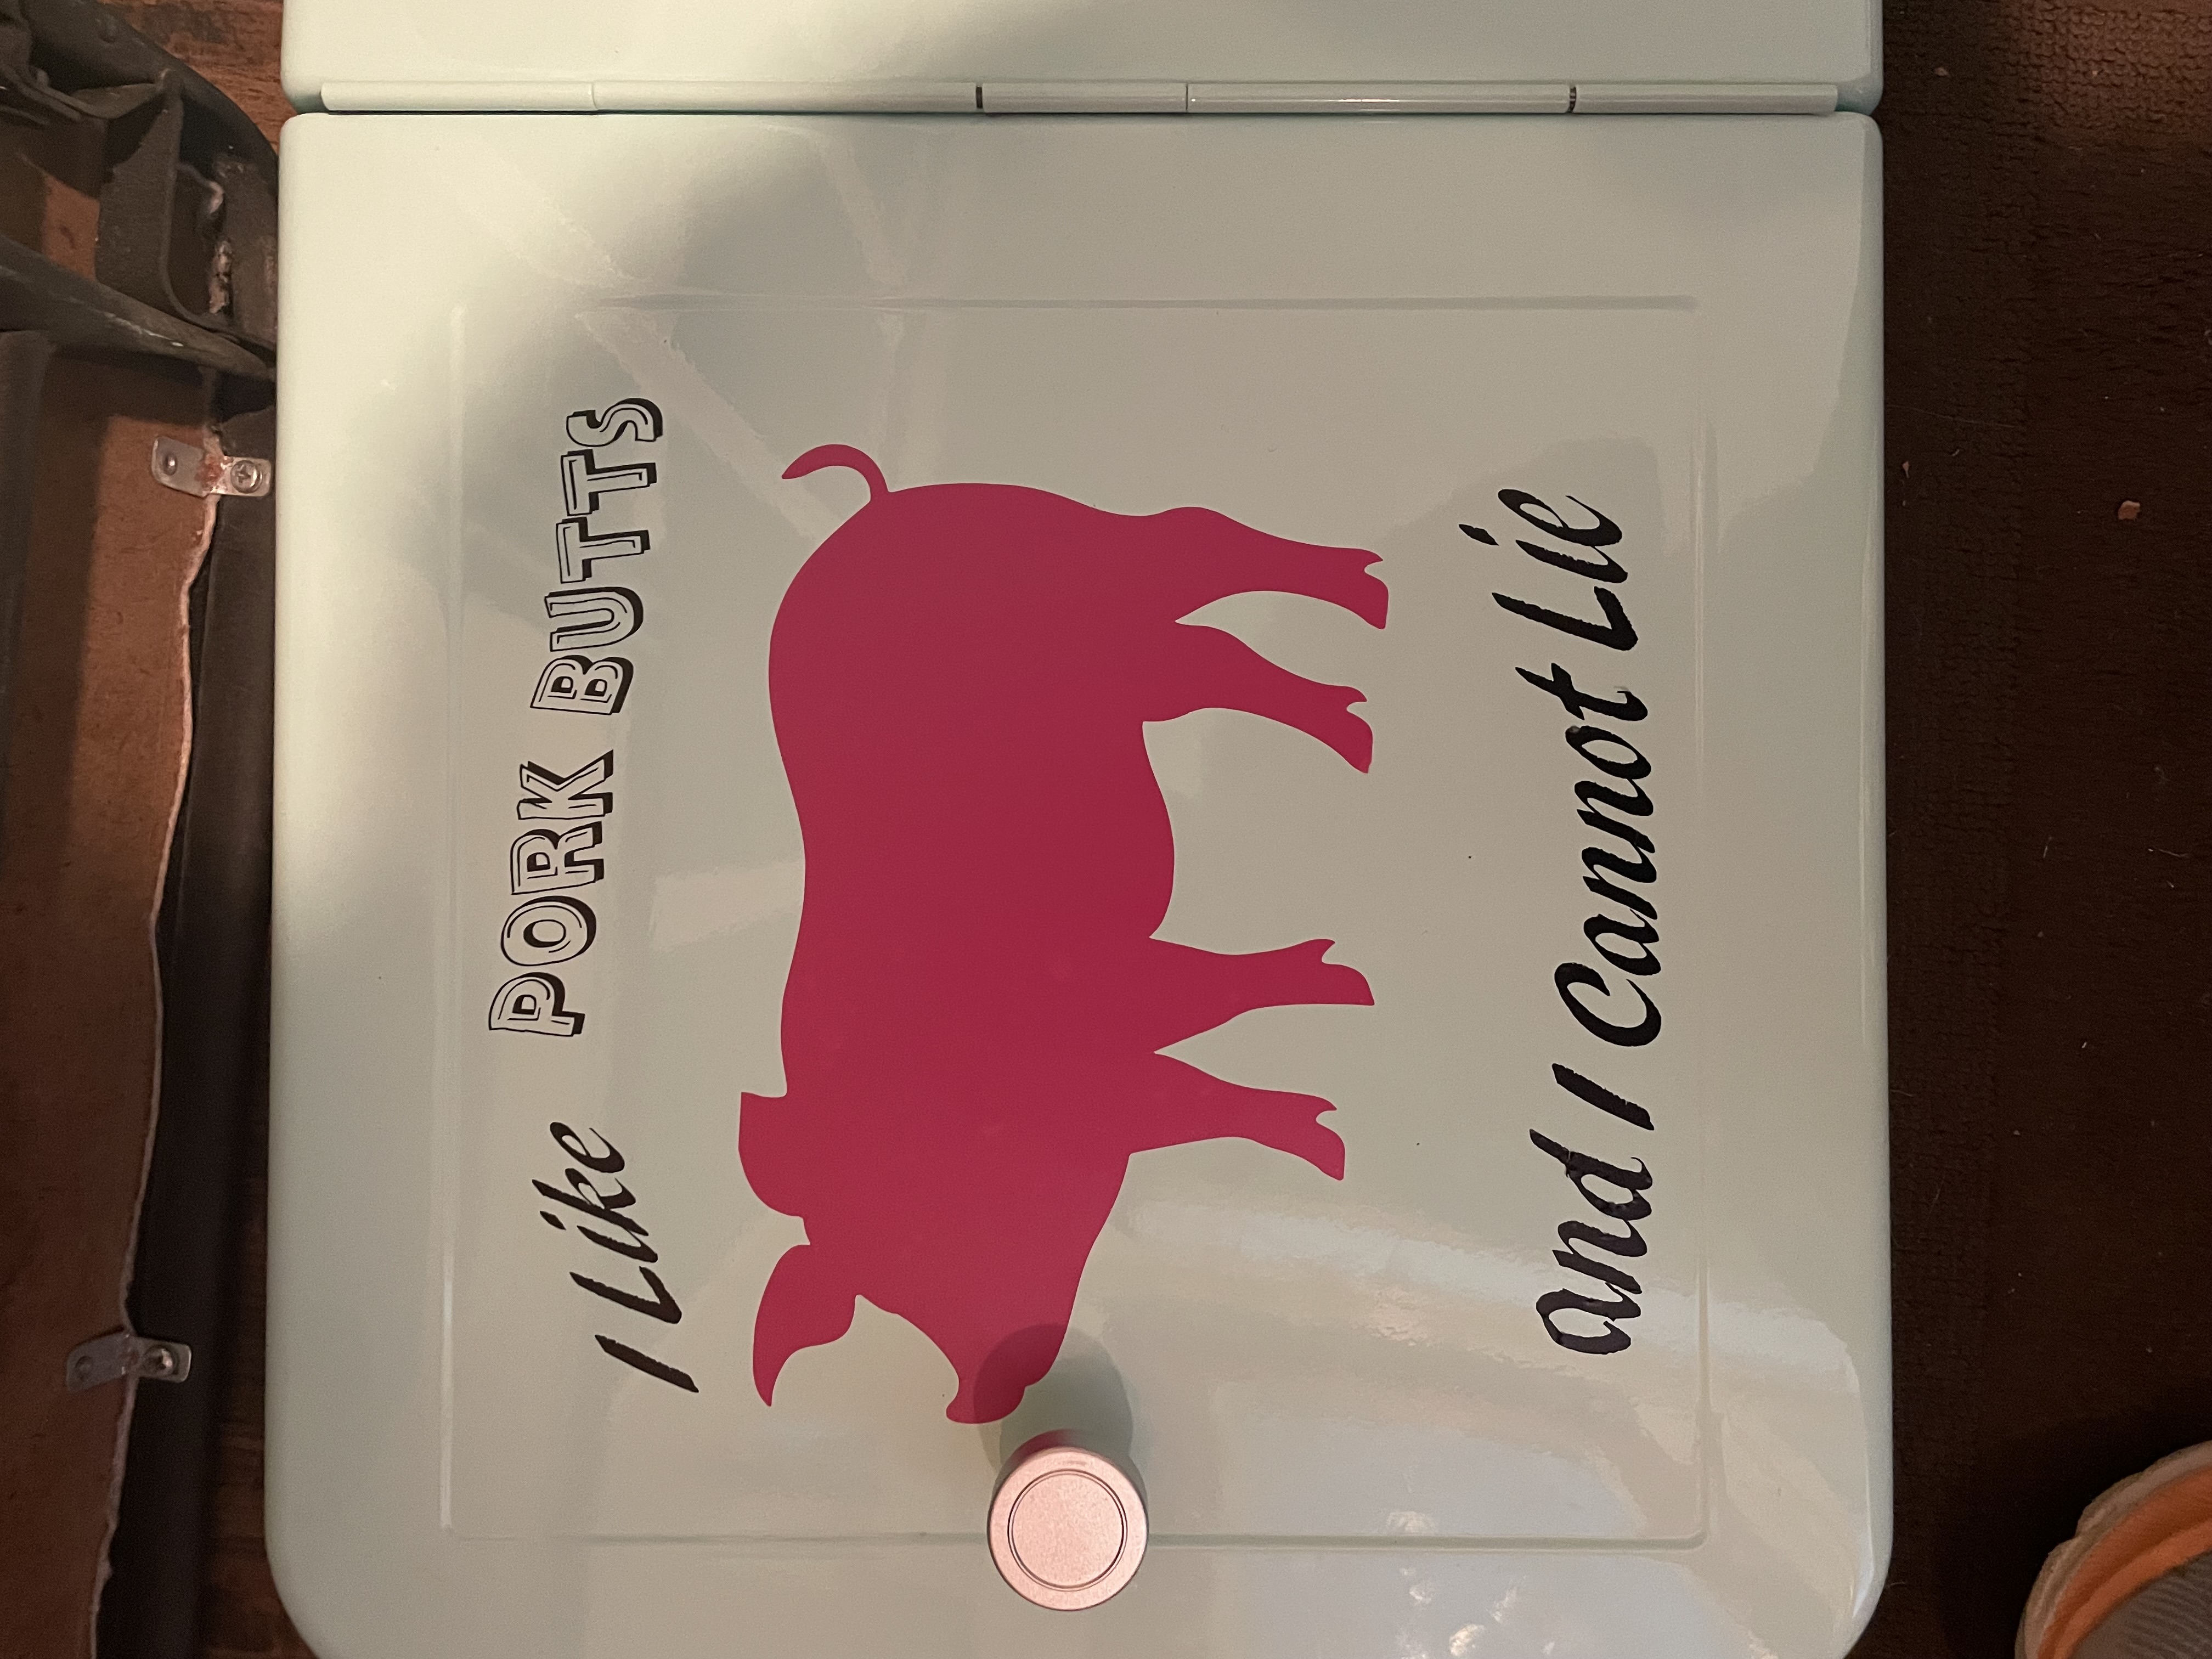
I made a first time vinyl project to go on a cooler with removable vinyl. Will it have been better to do it with permanent vinyl to last?
What vinyl works well on plastic cups, bowls, etc.
I see lots of discussion regarding Laser cuts. Can a Cricut maker do Laser cuts or do you need a special machine for this?
Hello all. I'm trying to print, then cut on my Cricut Maker. What printer would you all recommend that would be able to handle the 65-80lb cardstock?
Hello all. I'm trying to print, then cut on my Cricut Maker. What printer would you all recommend that would be able to handle the 65-80lb cardstock?
I'm creating a larger than the mat birthday party prop how can I hide the seams?
Can I use a regular home printer to print 3D SVG templates, or do I need a specialized printer?
What is the largest size design that can be cut on a Cricut? Also, what is the thickest material it can cut?


I own a silhouette and not a cricut, so are these machines very different? Is one any better than the other? Or, can one of them do anything different than the other?

Does cricut have a plan to have a larger cutting machine?
How do I use sublimation on wind spinners?
What is the process to sublimate on 120 piece puzzle blanks?
How do I put together a junk journal?

