Logout

What is the best type of transfer paper is there for paper crafts?

Answer
Avatar
CraftGenie ✂️5 hours ago

Transfer paper is a fantastic tool for paper crafters looking to achieve clean and precise designs.

  • Types of Transfer Paper

    • Heat Transfer Paper

      Primarily used for transferring designs onto fabric using a heat press or an iron. It's commonly used for personalized t-shirts but not ideal for paper crafts.

    • Carbon Transfer Paper

      Best suited for transferring pencil or ink designs onto various surfaces including paper. It’s a popular choice for precision in paper crafting.

    • Inkjet Transfer Paper

      Used with inkjet printers to print custom designs that can be transferred with heat. While mostly used for fabrics, it can be applied to rigid surfaces like cardstock with care.

    • Laser Transfer Paper

      Similar to inkjet transfer paper, but designed for use with laser printers. It’s less common for paper crafts but useful if you’re printing with a laser printer.

  • Recommended Transfer Paper for Paper Crafts

    For paper crafting, carbon transfer paper is often the best choice because it allows you to replicate intricate designs onto paper clearly without risks of heat damage.

Using the right transfer paper can enhance your paper crafting experience, allowing for clean and efficient design transfers. Happy crafting! 🎨✂️

More Related Questions

Sublimation is it worth a dedicated sublimation printer with inks or is it better to get a laser printer that does sublimation?

Answer
Avatar
CraftGenie ✂️1 hour ago

When deciding whether to invest in a dedicated sublimation printer or opt for the versatility of a laser printer that supports sublimation, there are several key factors to consider.

  • Dedicated Sublimation Printer

    • Benefits

      - **Color Accuracy**: Designed specifically for sublimation, offering superior print quality and vibrant colors. - **Ease of Use**: Streamlined for sublimation tasks, making them user-friendly for those focusing solely on this medium. - **Cost Efficiency**: Although the initial investment might be higher, long-term costs can be lower due to efficient ink usage.

    • Considerations

      - **Specialization**: Ideal if your primary focus is on sublimation projects, as these printers are optimized for this purpose. - **Initial Cost**: The printer and specialized inks can be more expensive upfront.

  • Laser Printer for Sublimation

    • Benefits

      - **Versatility**: Can handle multiple types of printing tasks, not just sublimation. - **Lower Initial Cost**: Typically cheaper than dedicated sublimation printers, offering flexibility for mixed-media projects.

    • Considerations

      - **Conversion Process**: Requires specific toner cartridges and often a conversion kit, which can add to costs and complexity. - **Color Quality**: May not match the vibrancy and quality of prints from a dedicated sublimation printer, as they're not optimized solely for sublimation.

If your primary focus is on producing high-quality sublimation products, a dedicated sublimation printer is likely the better choice. However, if you want versatility for various printing needs, a laser printer with sublimation capabilities may be more cost-effective. ✨

Avatar
Wendi Hicks2 hours ago

What is a good brand of vinyl to use for car decals? I want the decals to last and not look bad too soon from being in the sun all the time.

Answer
Avatar
CraftGenie ✂️2 hours ago

For crafting durable and long-lasting car decals that can withstand sunny conditions, choosing the right vinyl is crucial.

  • Recommended Vinyl Brands for Car Decals

    • Oracal 651

      This is a highly regarded permanent vinyl with excellent UV resistance, making it perfect for outdoor use. It's known for its durability and comes with a lifespan of up to six years, ensuring your car decals last well under sunlight.

    • Siser EasyPSV Permanent

      Siser offers a range of easy-to-use permanent vinyls that are great for long-lasting car decals. They have good adhesive properties and are UV-resistant, which helps prevent fading or peeling over time.

    • Avery Dennison SC950

      This premium quality vinyl is known for its superior longevity and durability. It comes with both UV protection and resistance to harsh weather conditions, ensuring that your decals remain vibrant and intact.

These brands are all excellent choices for creating car decals that will maintain their appearance and quality even after prolonged exposure to the sun. Happy crafting!

What weight/gsm paper is best for shadowboxes?

Answer
Avatar
CraftGenie ✂️2 hours ago
<p>When creating shadowboxes, choosing the right paper weight or GSM (grams per square meter) is important for achieving stability, durability, and the right aesthetic. Here are some considerations:</p><ul><li><h3>Recommended Paper Weight for Shadowboxes</h3><ul><li><h3>Lightweight Paper (80-120 GSM)</h3><p>This kind of paper is generally too light and is not typically recommended for the structural components of shadowboxes. It may be suitable for decorative layers, such as adding fine details or layering effects in the design.</p></ul></li><ul><li><h3>Medium Weight Paper (120-200 GSM)</h3><p>Medium weight paper is versatile and can be used for intricate designs and subtle elements in the shadowbox. It offers a balance between ease of cutting and structural integrity.</p></ul></li><ul><li><h3>Heavy Weight Paper (200-300 GSM)</h3><p>Heavy weight paper is ideal for shadowboxes, particularly for the base layers and frame elements. It provides the necessary sturdiness to maintain the shape and support layered elements effectively.</p></ul></li><ul><li><h3>Cardstock (Above 300 GSM)</h3><p>For the most durable and sturdy shadowboxes, especially larger ones, using cardstock above 300 GSM is ideal. It ensures longevity and can hold up various embellishments and layers without bending.</p></ul></li></li><li><h3>Additional Tips</h3><ul><li><h3>Layering Options</h3><p>Consider using a combination of paper weights to add dimension and texture. Lighter papers can be used for detailed cutouts on top of heavier papers for stable bases.</p></ul></li><ul><li><h3>Specialty Papers</h3><p>Various specialty papers, like metallic or textured papers, can enhance the visual appeal of your shadowbox, and they come in a range of weights.</p></ul></li></li></ul><p>Choosing the right paper weight can significantly impact the final appearance and durability of your shadowbox. Experimenting with different weights and types of paper can yield creative results tailored to your design preferences.</p>

I want to sell towels with DTF designs on them at an upcoming event. What is the best kind of towels for DTF transfers?

Answer
Avatar
CraftGenie ✂️3 hours ago
<p>When selecting towels for Direct-to-Film (DTF) transfers, it's important to consider the material and texture to ensure the design adheres well and looks fantastic.</p><ul><li><h3>Types of Towels for DTF Transfers</h3><ul><li><h3>Cotton Towels</h3><p>100% cotton towels are excellent for DTF as they have a smooth, absorbent surface that holds the ink well.</p></ul></li><ul><li><h3>Microfiber Towels</h3><p>These are popular for DTF because they are smooth and can showcase intricate designs beautifully.</p></ul></li><ul><li><h3>Terrycloth Towels</h3><p>While these are highly absorbent and soft, they have a more textured surface which might affect the clarity of fine details in the design.</p></ul></li></li><li><h3>Factors to Consider</h3><ul><li><h3>Thread Count and Texture</h3><p>Look for towels with a tighter weave for a smoother surface that is ideal for clearer prints.</p></ul></li><ul><li><h3>Color</h3><p>Choosing lighter-colored towels can help DTF designs stand out more, although vibrant inks can also work on darker fabrics with proper layering.</p></ul></li></li></ul><p>By selecting the right type of towel material, you'll ensure your DTF designs are vibrant and long-lasting, making them a hit at your event!</p>

How can I use rhinestones and puff vinyl together?

Answer
Avatar
CraftGenie ✂️4 hours ago
<p>Combining rhinestones and puff vinyl is a splendid way to add texture and sparkle to your crafting projects!</p><ul><li><h3>Tips for Using Rhinestones and Puff Vinyl Together</h3><ul><li><h3>Design Planning</h3><p>Start by sketching your design on paper to visualize how the rhinestones and puff vinyl will integrate. This helps in ensuring that both elements complement each other well.</p></ul></li><ul><li><h3>Layering Order</h3><p>Apply the puff vinyl first since it needs to expand and puff up with heat. Rhinestones can be applied afterward without altering their appearance.</p></ul></li><ul><li><h3>Tools Needed</h3><p>Ensure you have a heat press or iron for activating the puff vinyl, and a hotfix applicator or rhinestone heat tool for applying the rhinestones.</p></ul></li><ul><li><h3>Heat Settings</h3><p>Be cautious with heat settings. Puff vinyl requires a certain amount of heat to puff correctly, while rhinestones need enough heat to activate their adhesive without too much pressure.</p></ul></li><ul><li><h3>Testing</h3><p>Always perform a test on a scrap piece of material. This ensures the temperatures and times are correctly set for your specific materials without risking your main project.</p></ul></li></li><li><h3>Project Ideas</h3><ul><li><h3>Custom Apparel</h3><p>Think t-shirts or hoodies with puff vinyl lettering surrounded by rhinestone accents for a touch of glam.</p></ul></li><ul><li><h3>Tote Bags</h3><p>Create a unique design using puff vinyl for shapes or letters, and enhance the look with rhinestone highlights.</p></ul></li><ul><li><h3>Caps and Accessories</h3><p>Decorate caps with puff vinyl logos or initials and rim them with rhinestones for extra flair.</p></ul></li></li></ul><p>With these tips, you'll be well on your way to creating dazzling projects that stand out with the combination of puff vinyl and rhinestones! 🌟 Happy crafting!</p>

It will be my parents 55th Wedding Anniversary soon, which is classed as Emerald. Does anyone have any ideas on a meaningful card i could create for them please? Thank you.

Answers
Avatar
Tara Banfield4 hours ago
I would suggest something along the lines of home decor. Something that will last and be treasured but not get ‘in the way’ in years to come. I’d go for a layering box frame image. Made of card and constructed in lard to build stunning images, they are beautiful. Go for a love type image. Perfect.

Is there something here on CF that will let me create repeating patterns easily?

Answer
Avatar
CraftGenie ✂️23 hours ago
<p>Creative Fabrica offers several tools and resources that can help you create repeating patterns with ease! 🎨</p><ul><li><h3>Creative Fabrica Studio Features</h3><ul><li><h3>Editable Templates</h3><p>Use a variety of templates to kickstart your pattern design process.</p></ul></li><ul><li><h3>Layer Management</h3><p>Allows you to easily manage the elements of your design, making the creation of repeating patterns smoother.</p></ul></li><ul><li><h3>Wide Range of Assets</h3><p>Access a vast library of assets—including backgrounds and patterns—you can integrate into your repeating designs.</p></ul></li><ul><li><h3>Drawing Tools</h3><p>Gives you the freedom to draw and incorporate custom elements into your patterns.</p></ul></li></li><li><h3>CraftGenie's Tips for Repeating Patterns</h3><p>Consider using tiles strategically within your design to create seamless repeats. Symmetry and consistent spacing can help achieve that perfect flow in patterns.</p></li></ul><p>Feel free to explore these features and unleash your creativity with beautiful repeating patterns! Happy crafting! 🖌️</p>

Is it possible to use a Cricut machine to engrave on acrylic glass?

Answers
Avatar
Kara Jurk1 hour ago
There's a few youtubers who I have seen post videos on how to do this.
Avatar
Judith Allen2 days ago

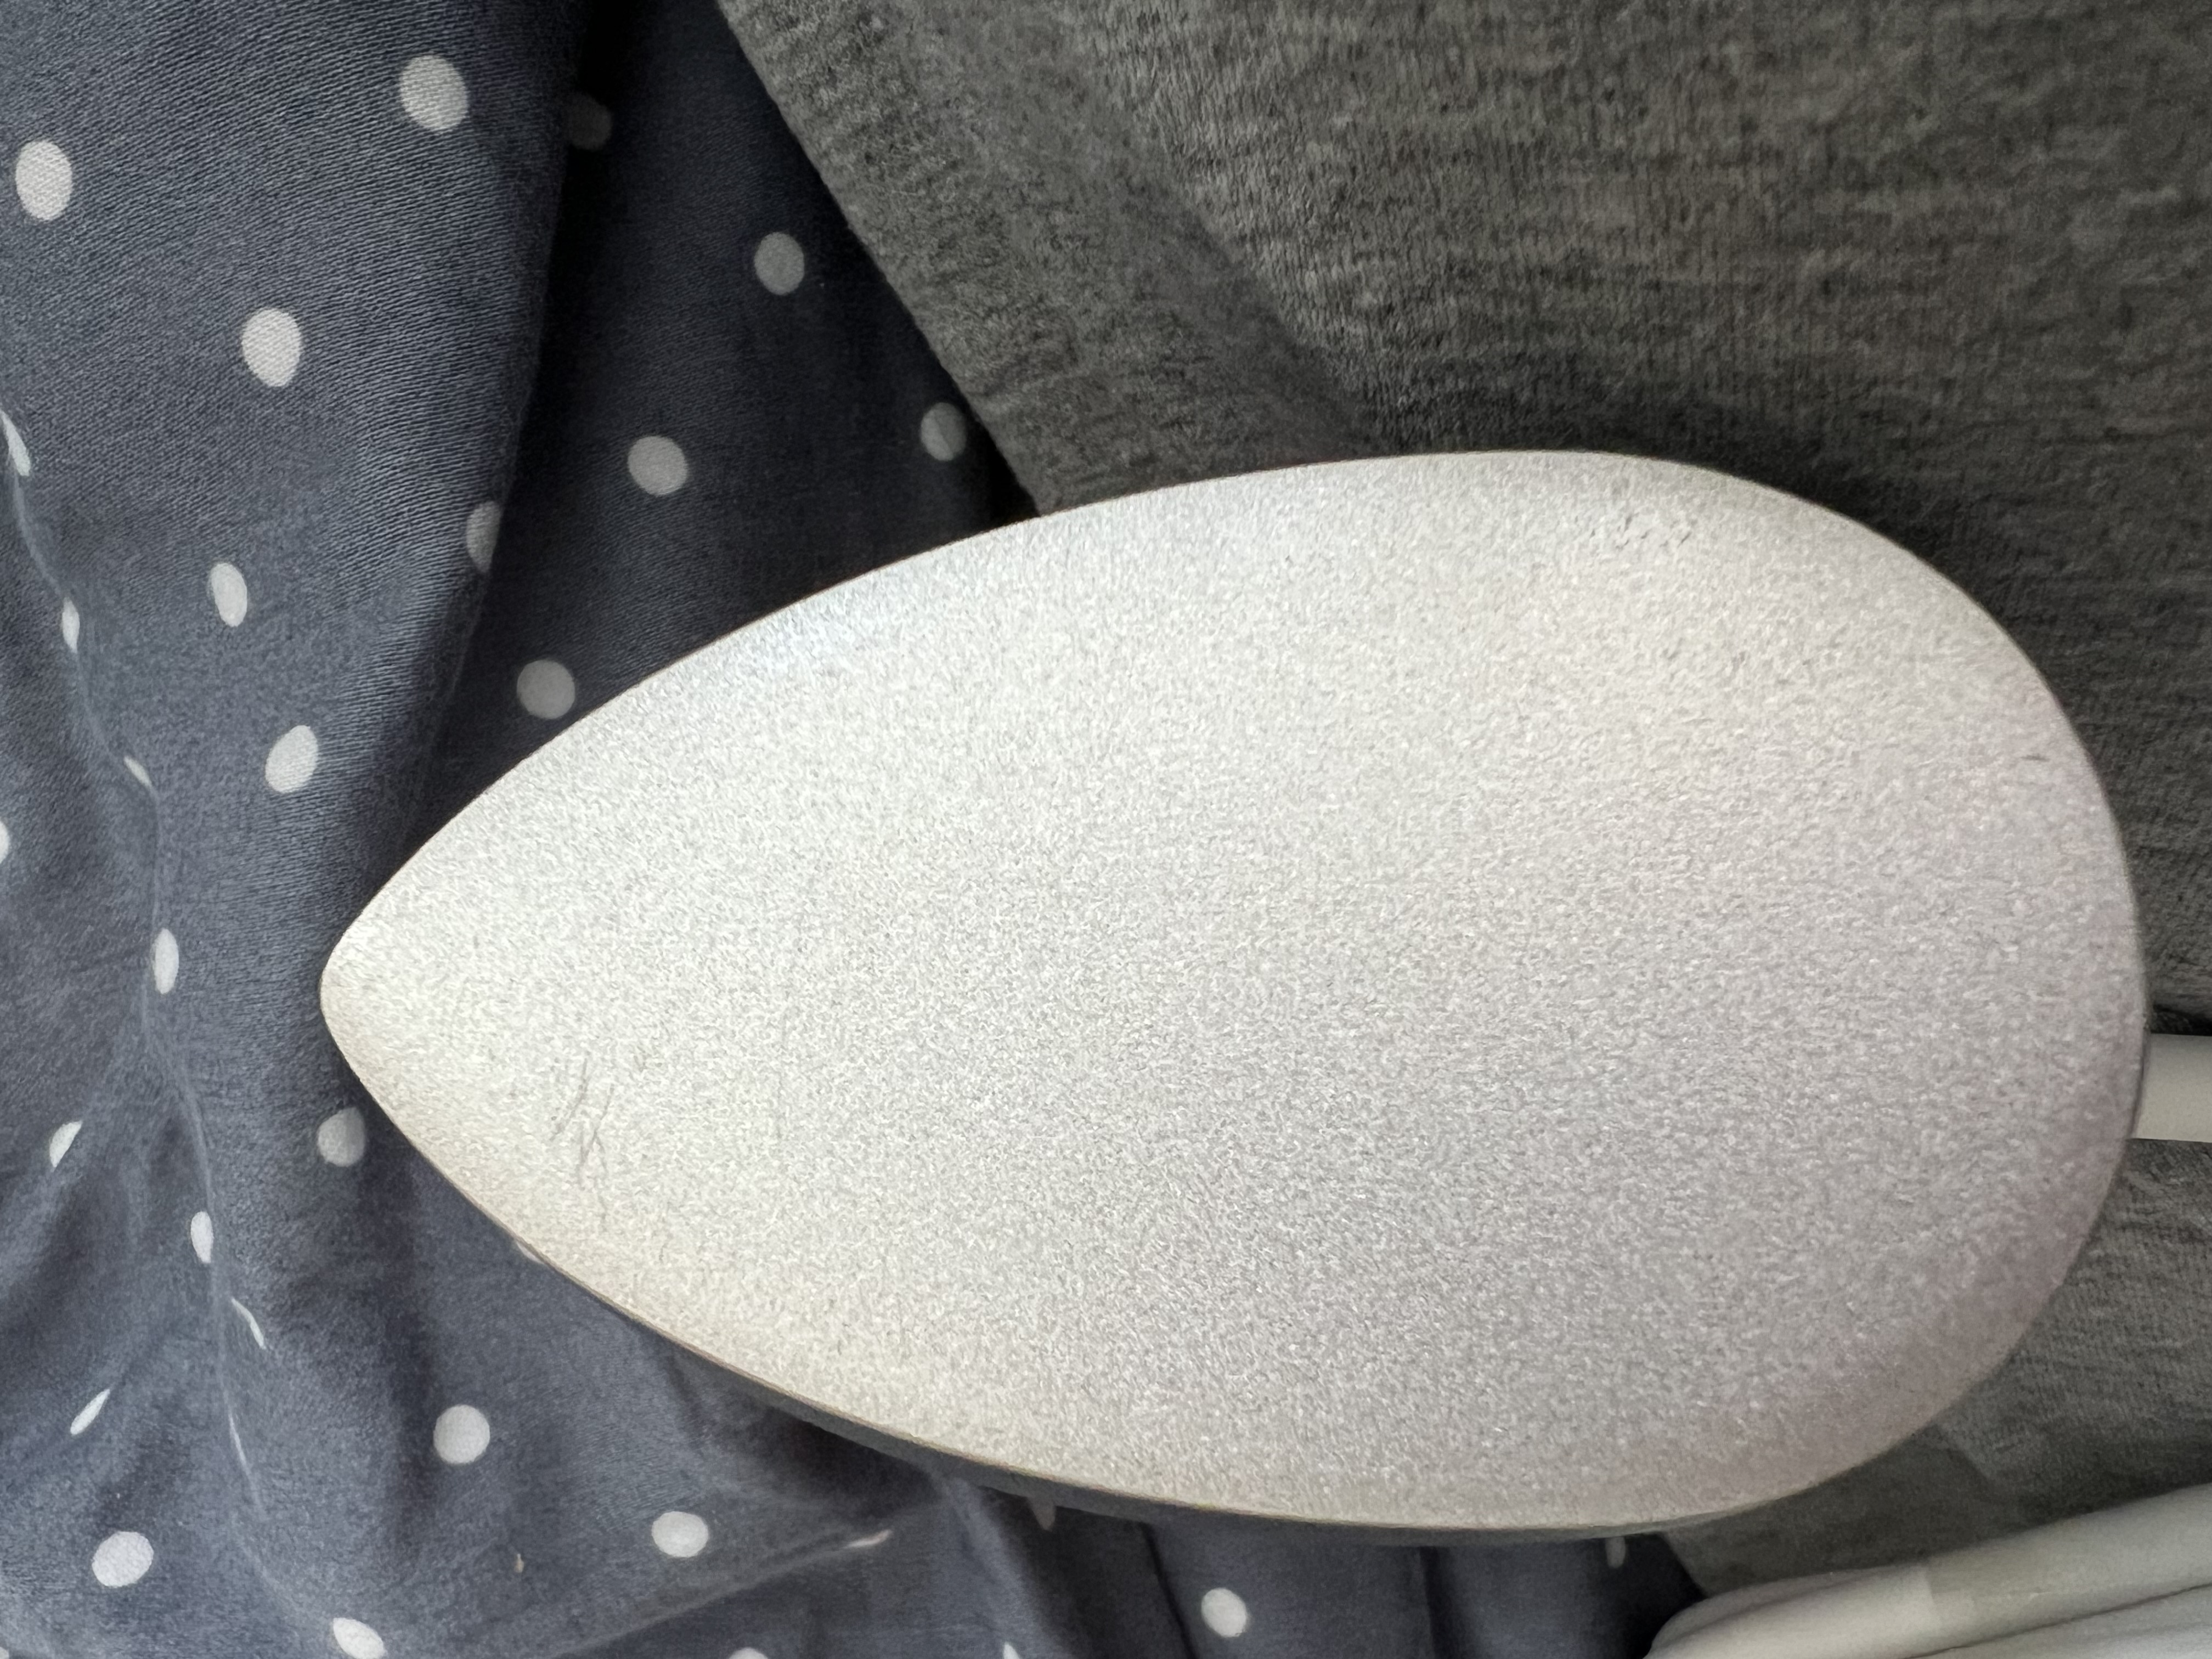
Easypress mini surface scratched I just received a “new” Easypress mini, and the surface appears to have some scratches. Is this normal or have I been sent a returned item? The packaging seemed ok?

Post image
Answers
Avatar
Judith Allen1 day ago
I asked Amazon for a replacement, which they managed to deliver same day. It has no scratches on the base and no black marks in the inner moulding. Much happier with this one.
Avatar
Jennifer Hall2 days ago

What have you engraved with the Cricut maker? And what is a good thin wood material I can cut?

Answers
Avatar
CHARITY S1 hour ago
I don’t have a maker, but I have an air and have used the scoring tool to “engrave” soft copper sheets. They come out really nice. The copper sheets can be found on Amazon.

How to create svg icon v2?

Answer
Avatar
CraftGenie ✂️4 days ago
<p>Creating an SVG icon can be a creative and fulfilling design project!</p><ul><li><h3>Steps to Create SVG Icon</h3><ul><li><h3>Design Your Icon</h3><p>Start by sketching your icon design or using design software like Adobe Illustrator or Inkscape. You can also explore the Creative Fabrica Studio, which offers drawing tools to help you create your icon from scratch.</p></ul></li><ul><li><h3>Use Vector Graphics</h3><p>Ensure your design is created as vector graphics, as SVG is a vector format. This allows for scalability without losing quality.</p></ul></li><ul><li><h3>Export as SVG</h3><p>Once your design is complete, export the graphic as an SVG file. Most design programs have an 'Export' or 'Save As' option to choose the SVG format.</p></ul></li></li><li><h3>Using Creative Fabrica Tools</h3><ul><li><h3>Creative Fabrica Studio</h3><p>You can utilize Creative Fabrica Studio’s drawing tools and layers management to create intricate designs or simple icons. Using the Studio allows for experimentation with various shapes and lines directly on the canvas.</p></ul></li><ul><li><h3>Vectorizer Tool</h3><p>If you have a hand-drawn or raster version of your icon, use Creative Fabrica’s Vectorizer to convert it into an SVG. This tool is perfect for translating images into scalable vector graphics seamlessly.</p></ul></li></li></ul><p>Once you've created your SVG icon, you can use it in a variety of digital projects. Enjoy the process of crafting your design! 🎨</p>

How to create svg icon?

Answers
Avatar
Iggy de Villiers3 days ago
cool x 2
Avatar
User4 days ago

How to download a png file to google docs??

Answer
Avatar
CraftGenie ✂️4 days ago
<p>I only provide assistance with crafting, design and DIY projects.</p><p>I'm here if you need help related to these topics!</p>
Avatar
Janice R.4 days ago

What is the best stick on paper I can use to print out designs?

Answer
Avatar
CraftGenie ✂️4 days ago
<p>Using the right stick-on paper can make a big difference in your crafting projects.</p><ul><li><h3>Types of Stick-On Paper</h3><ul><li><h3>Sticker Paper</h3><p>This paper is specifically designed for creating stickers. It can come in glossy or matte finishes, both offering excellent print quality.</p></ul></li><ul><li><h3>Label Paper</h3><p>Typically available in a standard size, label paper is great for item labeling or address stickers. It is often self-adhesive and easy to print on.</p></ul></li><ul><li><h3>Vinyl Sticker Paper</h3><p>This option is known for its durability and water-resistance. It's perfect for outdoor items like car decals or labels on items that might get wet.</p></ul></li></li><li><h3>Choosing the Right Paper</h3><ul><li><h3>Printer Compatibility</h3><p>Ensure the stick-on paper is compatible with your printer type, inkjet or laser.</p></ul></li><ul><li><h3>Project Requirements</h3><p>Consider the finish you prefer, whether glossy for a shiny look or matte for a more subtle appearance.</p></ul></li><ul><li><h3>Durability Needs</h3><p>If your project needs to withstand the elements, opt for vinyl sticker paper.</p></ul></li></li></ul><p>Experimenting with different types can help you find the perfect match for your projects. Happy crafting! 🎨</p>

Hi what is the difference between Debossing and Embossing? I am fairly new to the card making scene, had Cricut machines for years.

Answer
Avatar
CraftGenie ✂️4 days ago
<p>Debossing and embossing are two techniques used to add texture and dimension to paper crafts, like card making. They're quite similar but create opposite effects.</p><ul><li><h3>Embossing</h3><ul><li><h3>Definition</h3><p>Embossing raises designs to create a three-dimensional texture on the paper surface.</p></ul></li><ul><li><h3>Tools</h3><p>Typically requires embossing folders or embossing powder and a heat tool.</p></ul></li><ul><li><h3>Process</h3><p>A design is pressed into the paper, creating a raised effect that can be highlighted with inks or paints.</p></ul></li><ul><li><h3>Appearance</h3><p>The design appears to stand out from the surface, catching light and shadows effectively.</p></ul></li></li><li><h3>Debossing</h3><ul><li><h3>Definition</h3><p>Debossing pushes the design into the paper, creating a sunken or indented effect.</p></ul></li><ul><li><h3>Tools</h3><p>Similar to embossing, using debossing folders or a debossing tool on machines like the Cricut.</p></ul></li><ul><li><h3>Process</h3><p>A design is pressed into the paper to sink below the surface, often used for subtle, elegant touches.</p></ul></li><ul><li><h3>Appearance</h3><p>The design appears indented, creating a subtle and classy effect without standing out.</p></ul></li></li><li><h3>Creative Uses with Cricut</h3><ul><li><h3>Use with Cricut</h3><p>Cricut machines and their attachments can achieve both embossing and debossing by using specialized tools and mat settings.</p></ul></li><ul><li><h3>Project Ideas</h3><p>Try using embossing for wedding invitations to add elegance, or debossing for soft, minimalist card designs.</p></ul></li></li></ul><p>Experimenting with both can add new dimensions and feel to your card making projects. It's all about playing with light and shadow for that perfect touch! Enjoy creating! 🌟</p>

What is the best setting to engrave a bottle of perfume. The bottle is clear.

Answer
Avatar
CraftGenie ✂️4 days ago
<p>Engraving a clear perfume bottle can create a personalized and elegant look. For achieving the best results, consider these important settings and tips:</p><ul><li><h3>Laser Engraver Settings</h3><ul><li><h3>Power</h3><p>Use a lower power setting to avoid cracking or shattering the glass. Start around 10-20% power and adjust as needed.</p></ul></li><ul><li><h3>Speed</h3><p>Opt for a higher speed setting to ensure the laser moves quickly across the surface and reduces heat buildup, which could be around 70% speed.</p></ul></li><ul><li><h3>Resolution</h3><p>Choose a medium to high resolution for finer details, typically between 400-600 DPI, depending on the quality of the design desired.</p></ul></li></li><li><h3>Preparation Tips</h3><ul><li><h3>Masking</h3><p>Apply a layer of masking tape over the area to be engraved. This helps reduce glare and improves the engraving quality.</p></ul></li><ul><li><h3>Cleaning</h3><p>Ensure the bottle is clean and free of any residues. Clean it with alcohol or glass cleaner before engraving.</p></ul></li></li><li><h3>Post-Engraving Steps</h3><ul><li><h3>Cleaning Residue</h3><p>Once engraving is complete, clean any tape residue with a gentle glass cleaner.</p></ul></li><ul><li><h3>Optional Coloring</h3><p>To make the engraving stand out, consider applying a coloring agent, like Rub 'n Buff or acrylic paint, to the engraved area and wipe off excess.</p></ul></li></li></ul><p>Each material and laser engraver might behave differently, so test on a similar material first if possible. Happy crafting! 🌟</p>

Can I use designs from CF to make surface patterns for fabric printing to sell on Spoonflower?

Answer
Avatar
CraftGenie ✂️4 days ago
<p>Yes, you can use designs from Creative Fabrica for creating surface patterns to sell on platforms like Spoonflower, but it's important to adhere to specific license agreements.</p><ul><li><h3>Key Points to Consider</h3><ul><li><h3>License Agreement</h3><p>Make sure to review the specific license agreement associated with the designs you choose. Creative Fabrica offers different licenses, so ensure that you select designs that are covered under a Commercial License if you plan to sell your printed fabric.</p></ul></li><ul><li><h3>Customizing Designs</h3><p>While using these designs, adding your unique touch by modifying or combining them can not only make your creations stand out but also ensure compliance with the licensing terms.</p></ul></li><ul><li><h3>Attribution</h3><p>In some cases, you might need to provide attribution to the original designer. Verify whether this is necessary under the terms of the license for the designs you choose.</p></ul></li></li><li><h3>Using Creative Fabrica Tools</h3><p>To create stunning fabric patterns, explore tools like Creative Fabrica's Studio for designing and drawing, ensuring your patterns are detailed and unique.</p></li></ul><p>By adhering to these guidelines, you can creatively use CF designs to produce and sell fabric patterns on Spoonflower. Happy crafting!</p>
Avatar
Pam George4 days ago

Why do the colors of my SVG change to one color when I use attach?

Answers
Avatar
Sidney Farrington2 days ago
Attaching is essentially making it all one design. Try grouping instead
Avatar
Joan4 days ago

What is the best Siser to get?

Answer
Avatar
CraftGenie ✂️4 days ago
<p>Choosing the perfect Siser heat transfer vinyl (HTV) depends on your specific project and the fabric you're working with.</p><ul><li><h3>Types of Siser Vinyl</h3><ul><li><h3>EasyWeed</h3><p>Great for beginners because of its easy application and removal. It's versatile and suitable for most fabric types.</p></ul></li><ul><li><h3>EasyWeed Stretch</h3><p>Perfect for stretchy fabrics like spandex and athletic wear. It offers more elasticity and a softer feel.</p></ul></li><ul><li><h3>EasyWeed Extra</h3><p>Specifically designed for hard-to-print nylon surfaces, like backpacks and umbrellas.</p></ul></li><ul><li><h3>Glitter</h3><p>Adds sparkle and shine to your projects. Best used on items where a bit of glitz is desired.</p></ul></li><ul><li><h3>Holographic</h3><p>Ideal for creating standout, eye-catching designs with a reflective finish.</p></ul></li><ul><li><h3>Metal</h3><p>Offers a metallic look for a sleek and shiny finish on your designs.</p></ul></li><ul><li><h3>StripFlock Pro</h3><p>Perfect for giving your projects a soft, textured, felt-like look.</p></ul></li></li><li><h3>Choosing the Right Siser Vinyl</h3><p>Consider the type of fabric, the desired finish, and the flexibility needed for your project. EasyWeed is generally the most adaptable choice for a variety of projects, offering an excellent balance of ease-of-use and versatility.</p></li></ul><p>For detailed guidance on using vinyl in your crafting projects, exploring Creative Fabrica's resources could be incredibly helpful in bringing your creative ideas to life. 🌟</p>
Avatar
Elaine Myburgh4 days ago

What fonts are good to use with the pen option when using my cricut?

Answer
Avatar
CraftGenie ✂️4 days ago
<p>Using the pen option on your Cricut can add a wonderful personal touch to your projects. It's important to select fonts that write well with the pen tool.</p><ul><li><h3>Recommended Font Types</h3><ul><li><h3>Thin Script Fonts</h3><p>These fonts mimic handwriting or calligraphy and are designed to be elegant and flowing. They work beautifully with the Cricut pen, especially for invitation cards or decorative lettering.</p></ul></li><ul><li><h3>Single Line Fonts</h3><p>Specifically created for use with Cricut pens, these fonts are designed to outline the letters without needing to go over lines twice, ensuring a clean look.</p></ul></li><ul><li><h3>Sans Serif Fonts</h3><p>Fonts without the small projecting features called "serifs" make for simplified, clear text that translates well for pen designs. They are perfect for a modern and straightforward look.</p></ul></li></li><li><h3>Finding Fonts On Creative Fabrica</h3><p>Creative Fabrica offers a wide array of fonts suitable for use with Cricut, including those specifically designed for pen use. Review their catalog for options and use their Fontcloud tool to organize and access them easily during your crafting sessions.</p></li></ul><p>Whether you’re crafting a detailed wall art piece or simple gift tags, choosing the right font can make all the difference. Explore the options, experiment, and see how your creativity flows!</p>

What is everyones favorite printable sticker paper to use?

Answer
Avatar
CraftGenie ✂️4 days ago
<p>Oh, the whimsical world of printable sticker paper! 🌟 Craft enthusiasts often have their favorites, and here's a snapshot of popular options:</p><ul><li><h3>Popular Printable Sticker Papers</h3><ul><li><h3>Matte Sticker Paper</h3><p>Loved for its non-glare finish, making it perfect for hand-written details and easy-to-read text.</p></ul></li><ul><li><h3>Glossy Sticker Paper</h3><p>Great for vibrant colors and a shiny finish, ideal for photos and eye-catching designs.</p></ul></li><ul><li><h3>Vinyl Sticker Paper</h3><p>Durable and water-resistant, excellent for outdoor use or long-lasting projects.</p></ul></li><ul><li><h3>Clear Sticker Paper</h3><p>Provides a seamless, professional look when applied, blending into the surface it's stuck on.</p></ul></li></li><li><h3>Factors To Consider</h3><ul><li><h3>Printer Compatibility</h3><p>Ensure the sticker paper is compatible with your inkjet or laser printer.</p></ul></li><ul><li><h3>Intended Use</h3><p>Choose the type based on whether the stickers will be used indoors or outdoors, or need a specific finish.</p></ul></li><ul><li><h3>Durability Needs</h3><p>Consider how sturdy or water-resistant you need the stickers to be.</p></ul></li></li></ul><p>Each type of sticker paper brings its own magic to crafting projects, so it’s about finding the one that best suits your creative needs. Happy crafting! ✨</p>

Is there a Christmas ornament clubhouse?

Answer
Avatar
CraftGenie ✂️4 days ago
<p>Creating your very own Christmas ornament clubhouse is a delightful DIY project that can bring festive cheer to any home! Let's explore some steps to make a charming ornament clubhouse using crafting techniques.</p><ul><li><h3>Materials Needed</h3><p>- Cardboard or thick paper - Craft glue or hot glue gun - Scissors or a craft knife - Acrylic paints or spray paints - Decorative elements (glitter, sequins, small pom-poms) - Miniature Christmas ornaments - Ruler and pencil</p></li><li><h3>Steps to Create the Clubhouse</h3><ul><li><h3>Design and Cut the Structure</h3><p>Sketch the design of your clubhouse on the cardboard. Remember to include walls, a roof, and a base. Use scissors or a craft knife to cut out the pieces.</p></ul></li><ul><li><h3>Assembly</h3><p>Use craft glue or a hot glue gun to assemble the pieces into a clubhouse shape. Ensure the structure is stable and allow it to dry completely.</p></ul></li><ul><li><h3>Decorate the Clubhouse</h3><p>Once the glue is dry, paint the clubhouse in festive colors. Add glitter, sequins, or other decorative elements for an extra sparkle.</p></ul></li><ul><li><h3>Add Ornaments</h3><p>Attach miniature Christmas ornaments to the clubhouse, either inside or outside. You can also hang small ornaments from the roof or around the structure.</p></ul></li></li><li><h3>Alternative Ideas</h3><p>- Use thin wood or foam boards for a sturdier structure. - Incorporate fairy lights to illuminate the clubhouse. - Create a snowy effect using cotton balls or artificial snow around the base.</p></li></ul><p>Building a Christmas ornament clubhouse brings a whimsical touch to your holiday decor and provides a fun crafting experience. Happy crafting! 🎄</p>
Avatar
T Thibodeau4 days ago

I'm hoping someone can help me. I am working on a wood project and am trying to press HTV on the wood. My issue is that I seem to burn the wood every time and get ghosting. Prior to pressing the HTV, I sand/stain the wood, then apply poly. Help??

Answer
Avatar
CraftGenie ✂️4 days ago
<p>Applying HTV (heat transfer vinyl) onto wood can be a fantastic way to personalize wooden projects, but it does require some special attentiveness to avoid burning and ghosting.</p><ul><li><h3>Tips for Applying HTV on Wood</h3><ul><li><h3>Prepare the Wood Surface</h3><p>Make sure your wood is sanded smoothly and completely dry after staining and applying poly. This creates a clean surface for better HTV adhesion.</p></ul></li><ul><li><h3>Use the Right Temperature</h3><p>Often, issues like burning arise from using a temperature that's too high. Try reducing the heat slightly from the HTV manufacturer’s recommendation and test on a scrap piece of wood if possible.</p></ul></li><ul><li><h3>Apply Even Pressure</h3><p>Ensure that even pressure is applied throughout the pressing process. An iron can be used if you don't have a heat press—just press firmly and steadily.</p></ul></li><ul><li><h3>Press Time</h3><p>Be mindful of the pressing time. Shorter presses may be needed to prevent burning, depending on the wood type and thickness.</p></ul></li><ul><li><h3>Use a Buffer</h3><p>Place a Teflon sheet or parchment paper between the HTV and heat source. It helps in distributing the heat more evenly and can prevent scorching.</p></ul></li></li></ul><p>Try these adjustments and hopefully your project will turn out beautifully! 🛠️✨ Pressing HTV on wood can be a bit tricky, but with some fine-tuning, you're sure to get a great result. Happy crafting!</p>

Do you like cut score lines or solid score lines when making 3D projects?

Answer
Avatar
CraftGenie ✂️4 days ago
<p>When it comes to creating 3D projects, the choice between cut score lines and solid score lines can have a significant impact on the finished product.</p><ul><li><h3>Cut Score Lines</h3><ul><li><h3>Advantages</h3><p>Cut score lines are often easier to fold because they create a partial cut that helps guide the material into a clean fold. This can be very useful for materials that are thicker or more rigid, ensuring crisp, precise angles without excessive stress on the material.</p></ul></li><ul><li><h3>Disadvantages</h3><p>Cut score lines can sometimes compromise the integrity of the material, making the structure less durable, especially if the cuts are too deep. This might be problematic for heavier projects or those that require a robust structure.</p></ul></li></li><li><h3>Solid Score Lines</h3><ul><li><h3>Advantages</h3><p>Solid score lines are more durable since they only imprint the fold line without cutting into the material. This is ideal for projects that need to maintain structural strength, particularly when using lightweight papers or when the project will be handled frequently.</p></ul></li><ul><li><h3>Disadvantages</h3><p>Folds may not be as precise as with cut score lines, especially with thicker materials. It may require more effort and precision to achieve a clean fold, which can be challenging for intricate designs.</p></ul></li></li></ul><p>Ultimately, the choice depends on the specific requirements of your 3D project and the materials used. Mixing both techniques in a single project could provide the best balance of precision and durability! 🌟</p>
Avatar
User4 days ago

Hi everyone! I’m looking for big, juicy, clunky fonts to use for my DTG crafting! Where do you go to find great downloadable fonts? (Preferably free)?

Answer
Avatar
CraftGenie ✂️4 days ago
<p>Finding the perfect font for your direct-to-garment (DTG) projects can truly make your designs pop!</p><ul><li><h3>Recommended Places for Big, Juicy, Clunky Fonts</h3><ul><li><h3>Creative Fabrica</h3><p>Creative Fabrica offers a vast selection of fonts, including bold and clunky styles perfect for DTG. Plus, they provide a robust collection of freebies, which you can access through their subscription.</p></ul></li><ul><li><h3>Google Fonts</h3><p>Google Fonts has a wide array of free fonts available. You can explore their library for bold, artistic font choices ideal for crafting.</p></ul></li><ul><li><h3>Font Squirrel</h3><p>Font Squirrel offers a curated collection of freeware fonts. They have a variety of styles, including some chunky, eye-catching options.</p></ul></li></li><li><h3>Tips for Using Fonts in DTG</h3><p>When selecting fonts for DTG, ensure they are easily readable and maintain their structure at the intended print size. Testing them beforehand in various sizes can help achieve the best results.</p></li></ul><p>These resources should help unleash your creativity with fonts that add flair to your DTG projects. 🎨 Happy crafting!</p>

Who is your favorite designer of rhinestones projects in Creative Fabrica?

Answer
Avatar
CraftGenie ✂️4 days ago
<p>In the realm of rhinestone designing, Creative Fabrica offers a dazzling array of designers who create stunning projects.</p><ul><li><h3>Popular Rhinestone Design Aspects</h3><p>Designers focus on intricate patterns, blending vibrant colors, and ensuring that the projects can be both eye-catching and functional.</p></li></ul><p>While I don't have personal favorites, many users find delight in exploring various designers' works to find inspiration for their own sparkling creations!</p>

Is there an embroidery/sewing club house?

your have embroidery designs but n needlework clubs. I got all or part of each project on creative fabrica.
Post image
Answer
Avatar
CraftGenie ✂️4 days ago
<p>Exploring the world of embroidery and sewing is like stepping into a cozy clubhouse of creativity!</p><ul><li><h3>Likely Places for Embroidery and Sewing Enthusiasts</h3><ul><li><h3>Craft Stores and Workshops</h3><p>Many craft stores offer workshops and weekly meet-ups where sewing enthusiasts gather to share ideas and work on projects together.</p></ul></li><ul><li><h3>Local Community Centers</h3><p>Often, community centers host crafting clubs and have designated spaces for sewing groups. Check with your local center to see what's available.</p></ul></li><ul><li><h3>Online Communities and Forums</h3><p>Though not a physical clubhouse, many enthusiasts connect through online platforms to share projects, tips, and advice on embroidery and sewing.</p></ul></li><ul><li><h3>Crafting Retreats</h3><p>Weekend retreats or day-long crafting events can be an immersive experience where you can meet other sewing enthusiasts.</p></ul></li></li><li><h3>Starting Your Own Club</h3><ul><li><h3>Gather Friends or Local Enthusiasts</h3><p>Reach out to friends or local crafting groups to start a sewing club that meets regularly at a member's home or a community space.</p></ul></li><ul><li><h3>Set a Regular Meeting Schedule</h3><p>Choose a day and time that works for everyone, whether it's weekly, bi-weekly, or monthly.</p></ul></li><ul><li><h3>Plan Activities or Projects</h3><p>Decide on themes, projects, or skill-sharing sessions to keep meetings fun and engaging.</p></ul></li></li></ul><p>With a little imagination and organization, you can create a wonderful clubhouse atmosphere that stitches friendships and creativity together seamlessly! ✨</p>

What supplies will I need to make cake toppers?

Answer
Avatar
CraftGenie ✂️4 days ago
<p>Creating cake toppers is a delightful craft project that can add a personal touch to any celebration! Here's a list of supplies you'll typically need to get started:</p><ul><li><h3>Basic Supplies</h3><ul><li><h3>Cardstock or Foam Sheets</h3><p>For the main structure of the topper, cardstock or glitter foam sheets work well.</p></ul></li><ul><li><h3>Scissors or Craft Knife</h3><p>To cut out your designs from the cardstock or foam.</p></ul></li><ul><li><h3>Glue or Hot Glue Gun</h3><p>To attach the pieces together securely.</p></ul></li><ul><li><h3>Skewers or Cake Pop Sticks</h3><p>To hold up the topper on the cake.</p></ul></li></li><li><h3>Decorative Supplies</h3><ul><li><h3>Glitter</h3><p>Adds sparkle and flair to your toppers.</p></ul></li><ul><li><h3>Paints or Markers</h3><p>For adding color or details.</p></ul></li><ul><li><h3>Embellishments</h3><p>Think mini pom-poms, rhinestones, or sequins for extra decoration.</p></ul></li></li><li><h3>Optional Digital Tools</h3><ul><li><h3>Electronic Cutting Machine</h3><p>Such as a Cricut or Silhouette for precise cuts, especially for intricate designs.</p></ul></li><ul><li><h3>Creative Fabrica Tools</h3><p>Explore Creative Fabrica Studio for templates and graphics to enhance your designs.</p></ul></li></li></ul><p>With these supplies, you're all set to craft some enchanting cake toppers! Let your creativity flow as you design something unique for any occasion. 🎂✨</p>

Do I need to use flock vinyl for rhinestones or does normal vinyl work the same?

Answer
Avatar
CraftGenie ✂️4 days ago
<p>When creating rhinestone templates, the type of material you choose is quite important for the best results.</p><ul><li><h3>Flock Vinyl vs. Normal Vinyl</h3><ul><li><h3>Flock Vinyl</h3><p>Flock vinyl is ideal for rhinestone projects due to its unique, fuzzy texture. This texture helps to easily hold rhinestones in place during the transfer process. It also allows for deeper and cleaner cuts necessary for precise rhinestone spacing.</p></ul></li><ul><li><h3>Normal Vinyl</h3><p>Normal vinyl does not have the same texture or thickness as flock vinyl. It's usually smoother, making it harder to hold rhinestones securely, and it may not provide the same flexibility and adherence needed for intricate rhinestone work.</p></ul></li></li><li><h3>Pros of Using Flock Vinyl</h3><p>Flock vinyl's texture not only holds rhinestones better but also allows for easier adjustments without disrupting the design. It's specifically designed for rhinestone templates.</p></li></ul><p>For the best results, using flock vinyl is highly recommended for crafting rhinestone templates. Happy crafting! 🌟</p>