What is a good way to soften the edges of a sublimation design so it doesn't look like a square on material?
Softening the edges of a sublimation design is a wonderful technique to achieve a more blended and natural appearance on fabric.
Techniques to Soften Sublimation Design Edges
Use a Feathered Edge
In design software, apply a feather effect to the edges of your design. This blurs the transition between the design and the fabric, providing a softer, more blended effect.
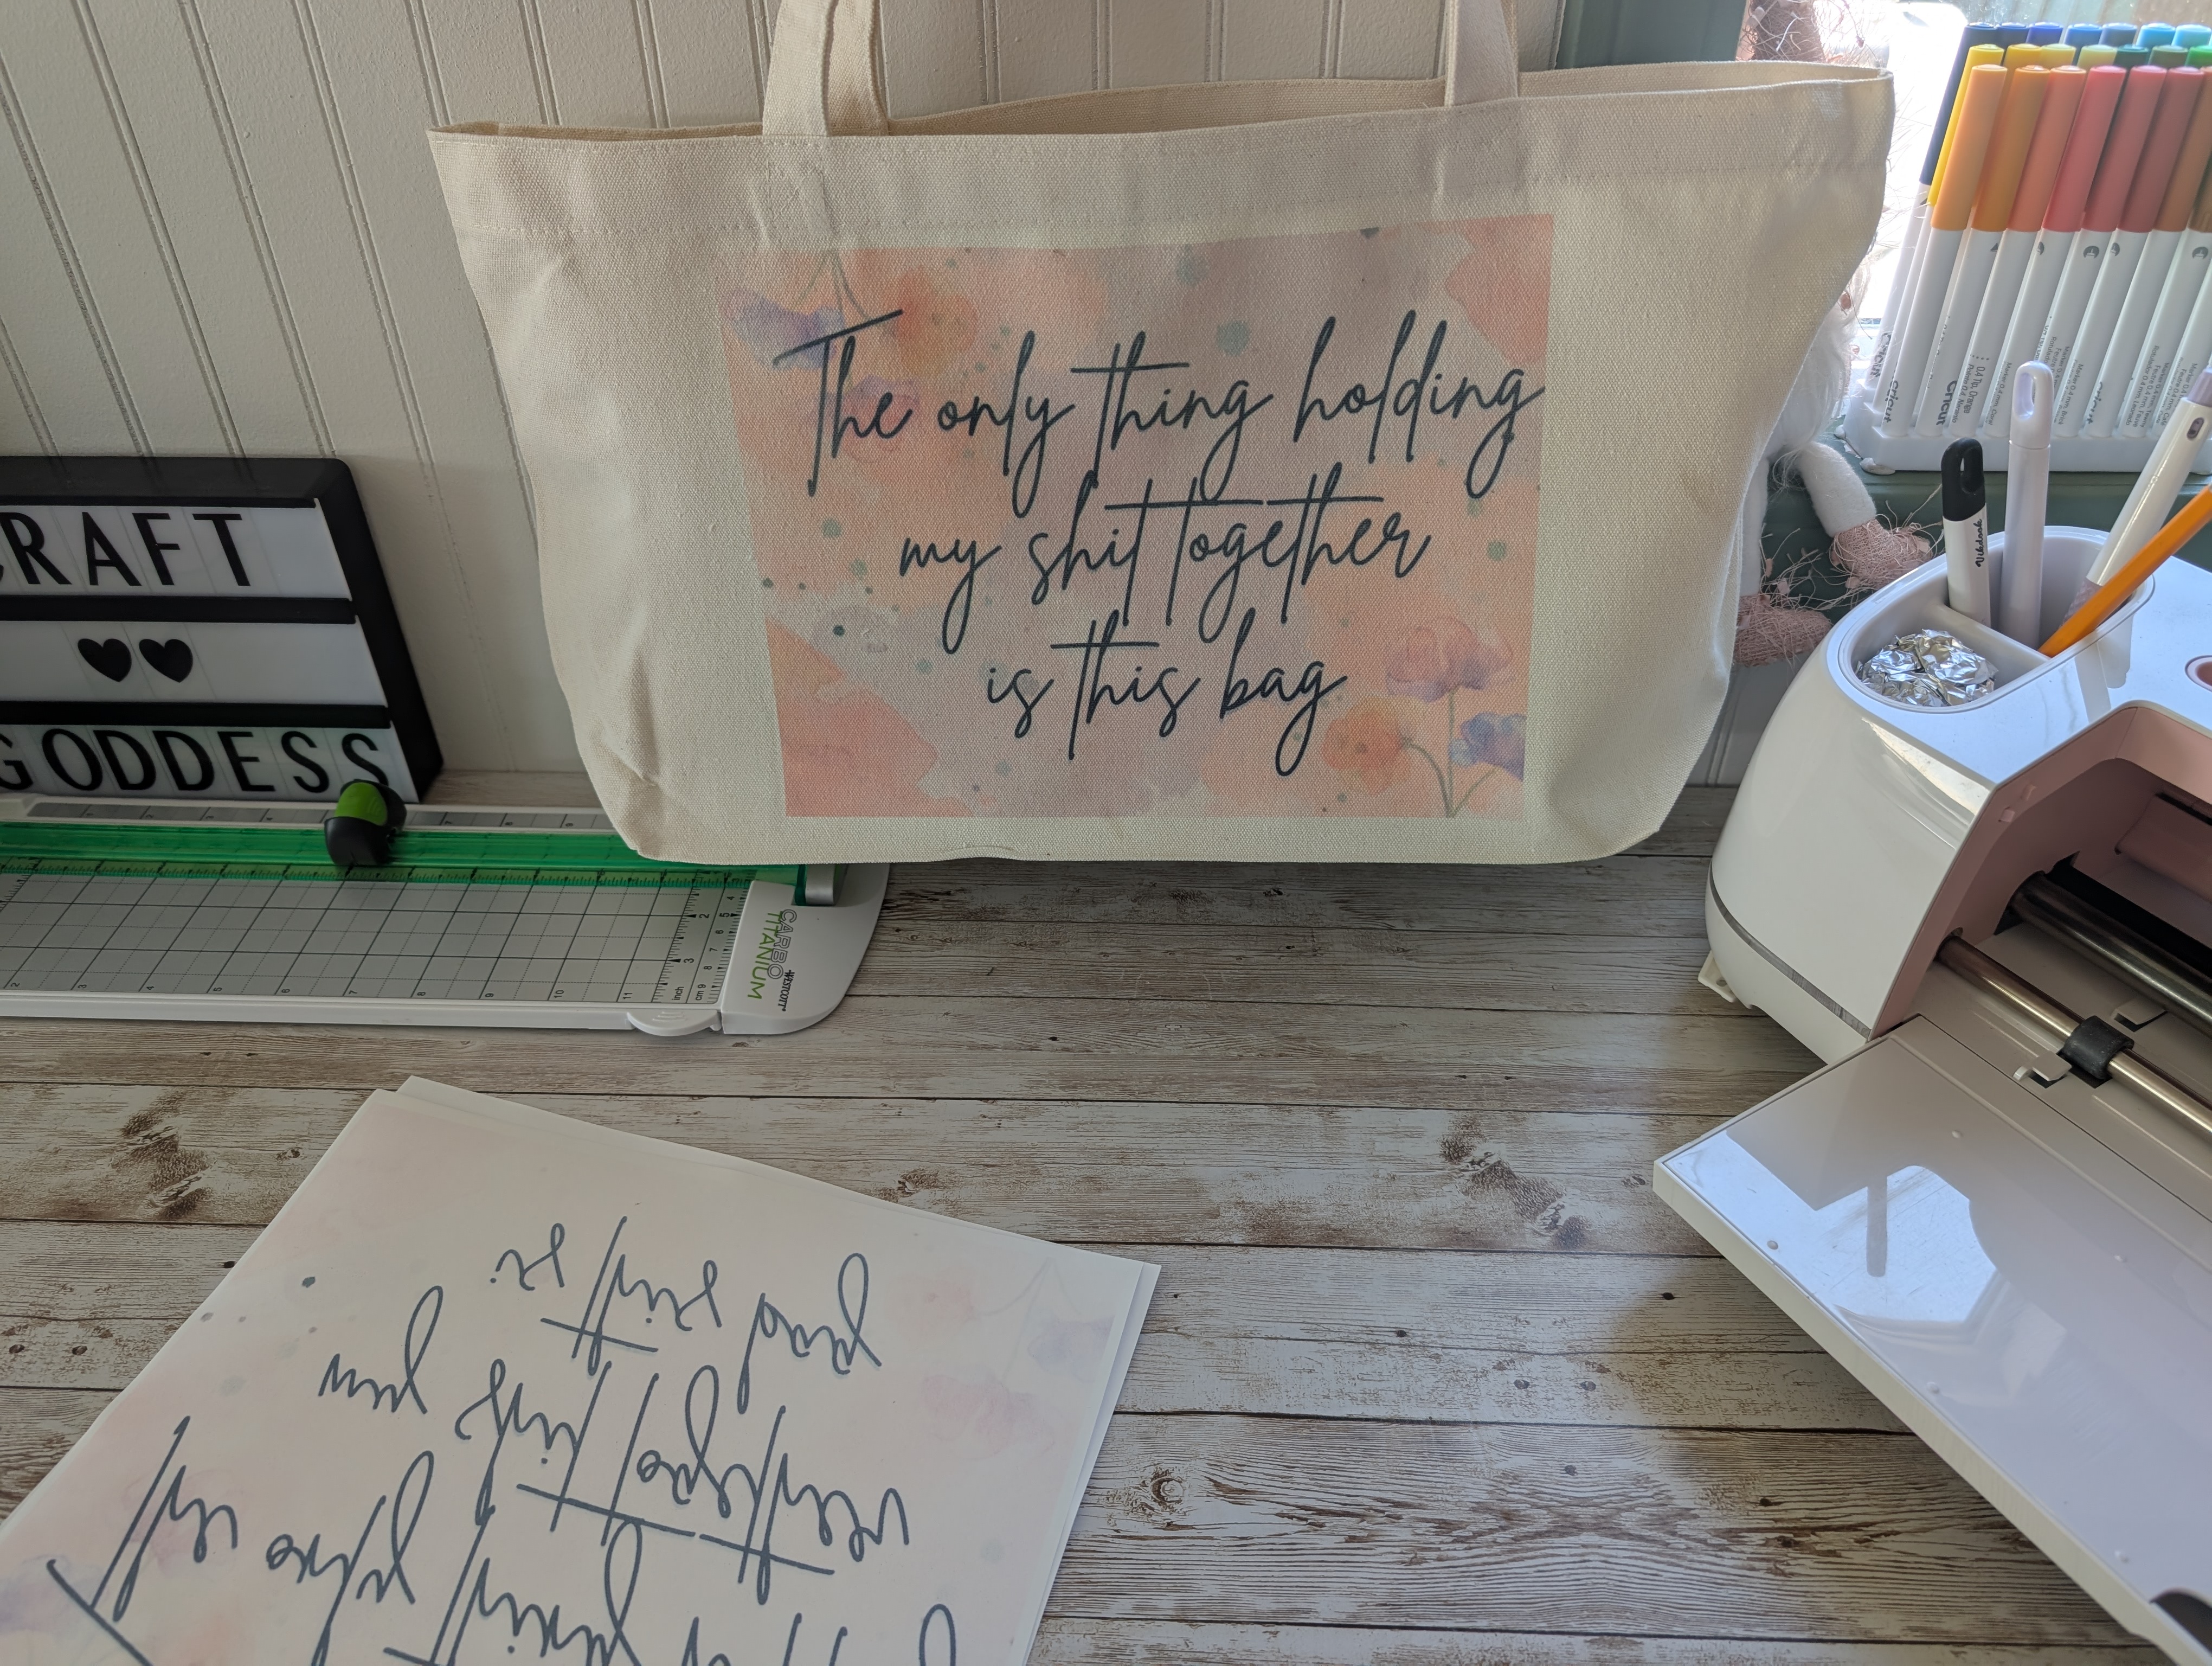
Add a Watercolor Effect
Incorporate a watercolor background or elements that naturally taper out to seamlessly integrate the design into the material.
Fade Outwards
Design your graphic so it naturally fades to transparency or the color of your fabric towards the edges. This can be achieved by using gradient tools in your design software.
Texture Overlay
Apply a textured overlay that gradually diminishes in intensity towards the edges. This adds a seamless look by blending the design with the fabric’s texture.
Use Creative Brushes
In digital design software, use textured brushes around the edges of your design to create a less uniform and more integrated look.
Creative Fabrica Studio Tools
Studio Editable Templates
Utilize Creative Fabrica's templates which allow for customization and effects to achieve smoother edges.
Experimenting with these techniques will help you create visually appealing sublimation designs that blend beautifully with the fabric's surface. Happy crafting! 🎨
More Related Questions
I saw the question regarding sublimation on canvas. Would you use a clear Non- adhesive Laminate Sheet? Are these the same sheets that are used in a laminator machine? Thank You.
Sublimation on canvas is a delightful way to create vibrant and professional-looking prints.
Sublimating on Canvas with Laminate Sheets
Clear Non-Adhesive Laminate Sheets
These sheets are typically used as a protective layer for printed materials when they're run through a laminating machine, giving them a glossy finish.
Use in Sublimation
For sublimation on canvas, people often use a heat transfer laminate instead. This is applied to the canvas before the sublimation print is transferred using heat press. The laminate specifically designed for sublimation creates a suitable surface for the inks to bond with, ensuring long-lasting and vibrant prints.
Comparison with Standard Laminating Sheets
Standard Laminate Sheets
Standard laminating sheets used in laminator machines are not designed for sublimation. They don't provide the right coating needed for dye sublimation inks to bond with the canvas material.
Heat Transfer Laminate
This type of laminate is specifically formulated to work with sublimation inks and is applied onto your canvas surface. Once applied, the laminate allows sublimation inks to bond effectively, resulting in high-quality images.
If you're planning to try sublimating on canvas, remember to use a heat transfer laminate designed for this purpose to achieve the best results! 🎨
Absolutely, you can definitely use vinyl on wood for various crafting projects!
Types of Vinyl to Use
Permanent Vinyl
This is a great option for wood projects as it has a strong adhesive that ensures lasting results. It's ideal for projects that will be exposed to outdoor elements.
Heat Transfer Vinyl (HTV)
HTV can also be used on wood! You’ll need to use an iron or a heat press to apply it, which helps the vinyl adhere better to the surface.
Preparing the Wood Surface
Before applying any vinyl, make sure the wood surface is smooth and clean. Sanding and cleaning the wood will help the vinyl stick more effectively.
Application Tips
Using a Squeegee or Credit Card
This helps to smooth the vinyl onto the wood and remove any air bubbles.
Sealant for Extra Durability
Applying a clear sealant over the vinyl can add extra protection, especially for outdoor projects.
So go ahead and bring your designs to life with vinyl on wood! Happy crafting! 🎨