What are some easy clay project ideas for beginners?
Clay is a wonderfully versatile medium for crafting, and it's perfect for beginners to explore their creativity. Here are some easy clay project ideas to get you started on your crafty journey:
Clay Jewelry
Create simple earrings, pendants, or rings using polymer clay. Rolling out the clay and cutting out shapes with cookie cutters is a great way to start. Once you have your shapes, you can bake them according to instructions and add any jewelry findings.
Clay Pots and Planters
Use air-dry clay to form small pots or planters. You can roll out the clay and mold it around a small bowl for shape, then let it dry or bake it as needed. Once hardened, paint your pots to add vibrant colors and patterns.
Personalized Keychains
Shape clay into fun characters or simple initials. Attach a keyring before the clay dries or bakes. This is a lovely way to personalize gifts or create something unique for yourself.
Miniature Figurines
Experiment with creating tiny animals or decorative figures. Polymer clay is great for creating detailed designs. You can add layers, textures, and details before baking them to set your designs.
Decorative Coasters
Roll out clay into uniform slabs and use a round cutter to make coasters. You can press leaves, lace, or rubber stamps into the clay for texture before letting them dry or hardening them in the oven.
These beginner projects are just the tip of the clay iceberg! Each creation allows you to develop your skills and express your creativity. Have fun crafting with clay!
More Related Questions
New to all of the cricut and creative fabrica stuff?
Im trying to figure out how to print a design on creative fabrica from my epson printer. when I hit create design the things I downloaded arent there and I dontknowh ow to star them to get them in there so I can make tumbler wraps. Also does anyone print on a epson printer that can tell me how to print I have the 2800 series. I turned my printer into a sublimation printer already. Any help would be appreciated as I am new to this and want to get really good so I can start a business up
Welcome to the wonderful world of Cricut and Creative Fabrica!
Getting Started with Cricut
What is Cricut?
Cricut is a brand of electronic cutting machines used for cutting paper, felt, vinyl, fabric, and other materials for various crafting projects.
Basic Equipment
You'll need a Cricut machine (like the Cricut Maker or Explore series), a computer or tablet, cutting mats, and materials suitable for your projects like vinyl or cardstock.
Software Setup
Download and install Cricut Design Space on your computer or mobile device to start designing and cutting projects.
Exploring Creative Fabrica
What is Creative Fabrica?
Creative Fabrica is a marketplace for digital files and crafting resources, including fonts, graphics, embroidery designs, and much more.
Benefits for Crafting
With a Creative Fabrica subscription, you have access to an extensive library of fonts and graphics, perfect for creating custom Cricut designs.
Helpful Tools
Use Creative Fabrica Studio for design creation and take advantage of tools like the Background Remover or Vectorizer to enhance your projects.
Dive in and enjoy using these creative tools to make your crafting dreams come true! 🌟
I'm a font designer. What kind of fonts are Cricut fans interested in?
Cricut enthusiasts are often on the lookout for fonts that are not only visually appealing but also designed with crafting in mind. Here are some popular types of fonts they tend to favor:
Types of Fonts for Cricut Fans
Script Fonts
These fonts mimic handwriting or calligraphy, which are perfect for creating elegant and flowing designs on invitations, cards, and home decor.
Sans Serif Fonts
Clean and modern-looking, sans serif fonts are popular for their readability and simplicity, often used in labels and signs.
Serif Fonts
With their classic appeal, serif fonts add a touch of sophistication and are great for more formal projects.
Chunky or Bold Fonts
These are ideal for making statements with large, impactful designs, and are especially popular for wall art or t-shirts.
Stencil Fonts
Perfect for Cricut projects, stencil fonts are easy to cut and weed, making them ideal for beginners.
Design Considerations
When designing fonts for Cricut, consider the ease of cutting and weeding. Fonts with intricate details might be challenging for crafters to work with, whereas simpler designs tend to be more user-friendly.
Creating fonts that balance aesthetics and functionality can make them highly desirable among Cricut users. Happy designing! 🎨
How do u make rhinestone templets?
Hi there, this might be a stupid question and my apologies. I have nothing on my product feed and the Christmas in July event really inspired me to recreate my shop and do a physical craft product feed. When sharing product images for the feeds, do crafters use their own designs sometimes or just other products from other designers or both?
Can you put flock vinyl over glitter viny?

I downloaded CF fonts to my Cricut, but cannot find them when I go to fonts -System? Is there a limit to the number of fonts Cricuit can hold ?
What is the easiest paper to cut and start crafting with?

What is a cricut?

I cant get design space to print a 20oz skinny straight tumbler design to print the correct size. It tells me its to big then spits out a blank sheet. What do I do to fix it?

Looking for a turkey side card?
What tools and equipment do I need to cut and assemble 3D SVGs, especially for more intricate designs?
I HAVE HAD A CRICUT MAKER FOR THREE YEARS AND HAVEN'T USED IT YET. HOW DO I SCREEN PRINT ONTO A T-SHIRT? I HAVE TO MAKE 10 BY THE END OF THE WEEK. AND I KNOW BETTER THAN TO VOLUNTEER WHEN I'M SO BUSY. SOMEONE PLEASE HELP ME.

Is there anyone that sells in Amazon KDP?
I see in examples, digital papers used on phone cases, bags, wrapping paper etc. How is this done??
Which Siser heat machine is best for me to get, I want to start subminiating on t-shirts: https://www.siser.com/heat-presses/?
What's the best paper card to use for my 3d paper craft project?


How do you get your printer to print text backward for sublimation?


Comment choisir une police écriture qui, une fois importée dans Cricut space, est utilisable en un seul trait plutôt que double trait avec l'outil stylo?

How can I make a name big enough so I can put it on a tshirt for the pocket? I design it but then I put it on my gang sheet and its tiny and low quality.
What printers are best for 80 lb cardstock?

Do cricut has the tool that us a brush that can match color for other project? If the answer is positive where do I find it., if not , why?
Why does cricut make something’s so “hard” to do but the silhouette makes the same process much easier?
What laundry soap is used to wash the rhinestone shirts?
Ive only had my cricut for a few months and its not cutting through my material, even though I have it on the correct settings? I've tried the ball of foil and no luck. What am I doing wrong? Is my blade dull already? Do you all carry extra blades when this happens? Thank you in advance for your help. 😊?

Best type of paper to print in a home printer?

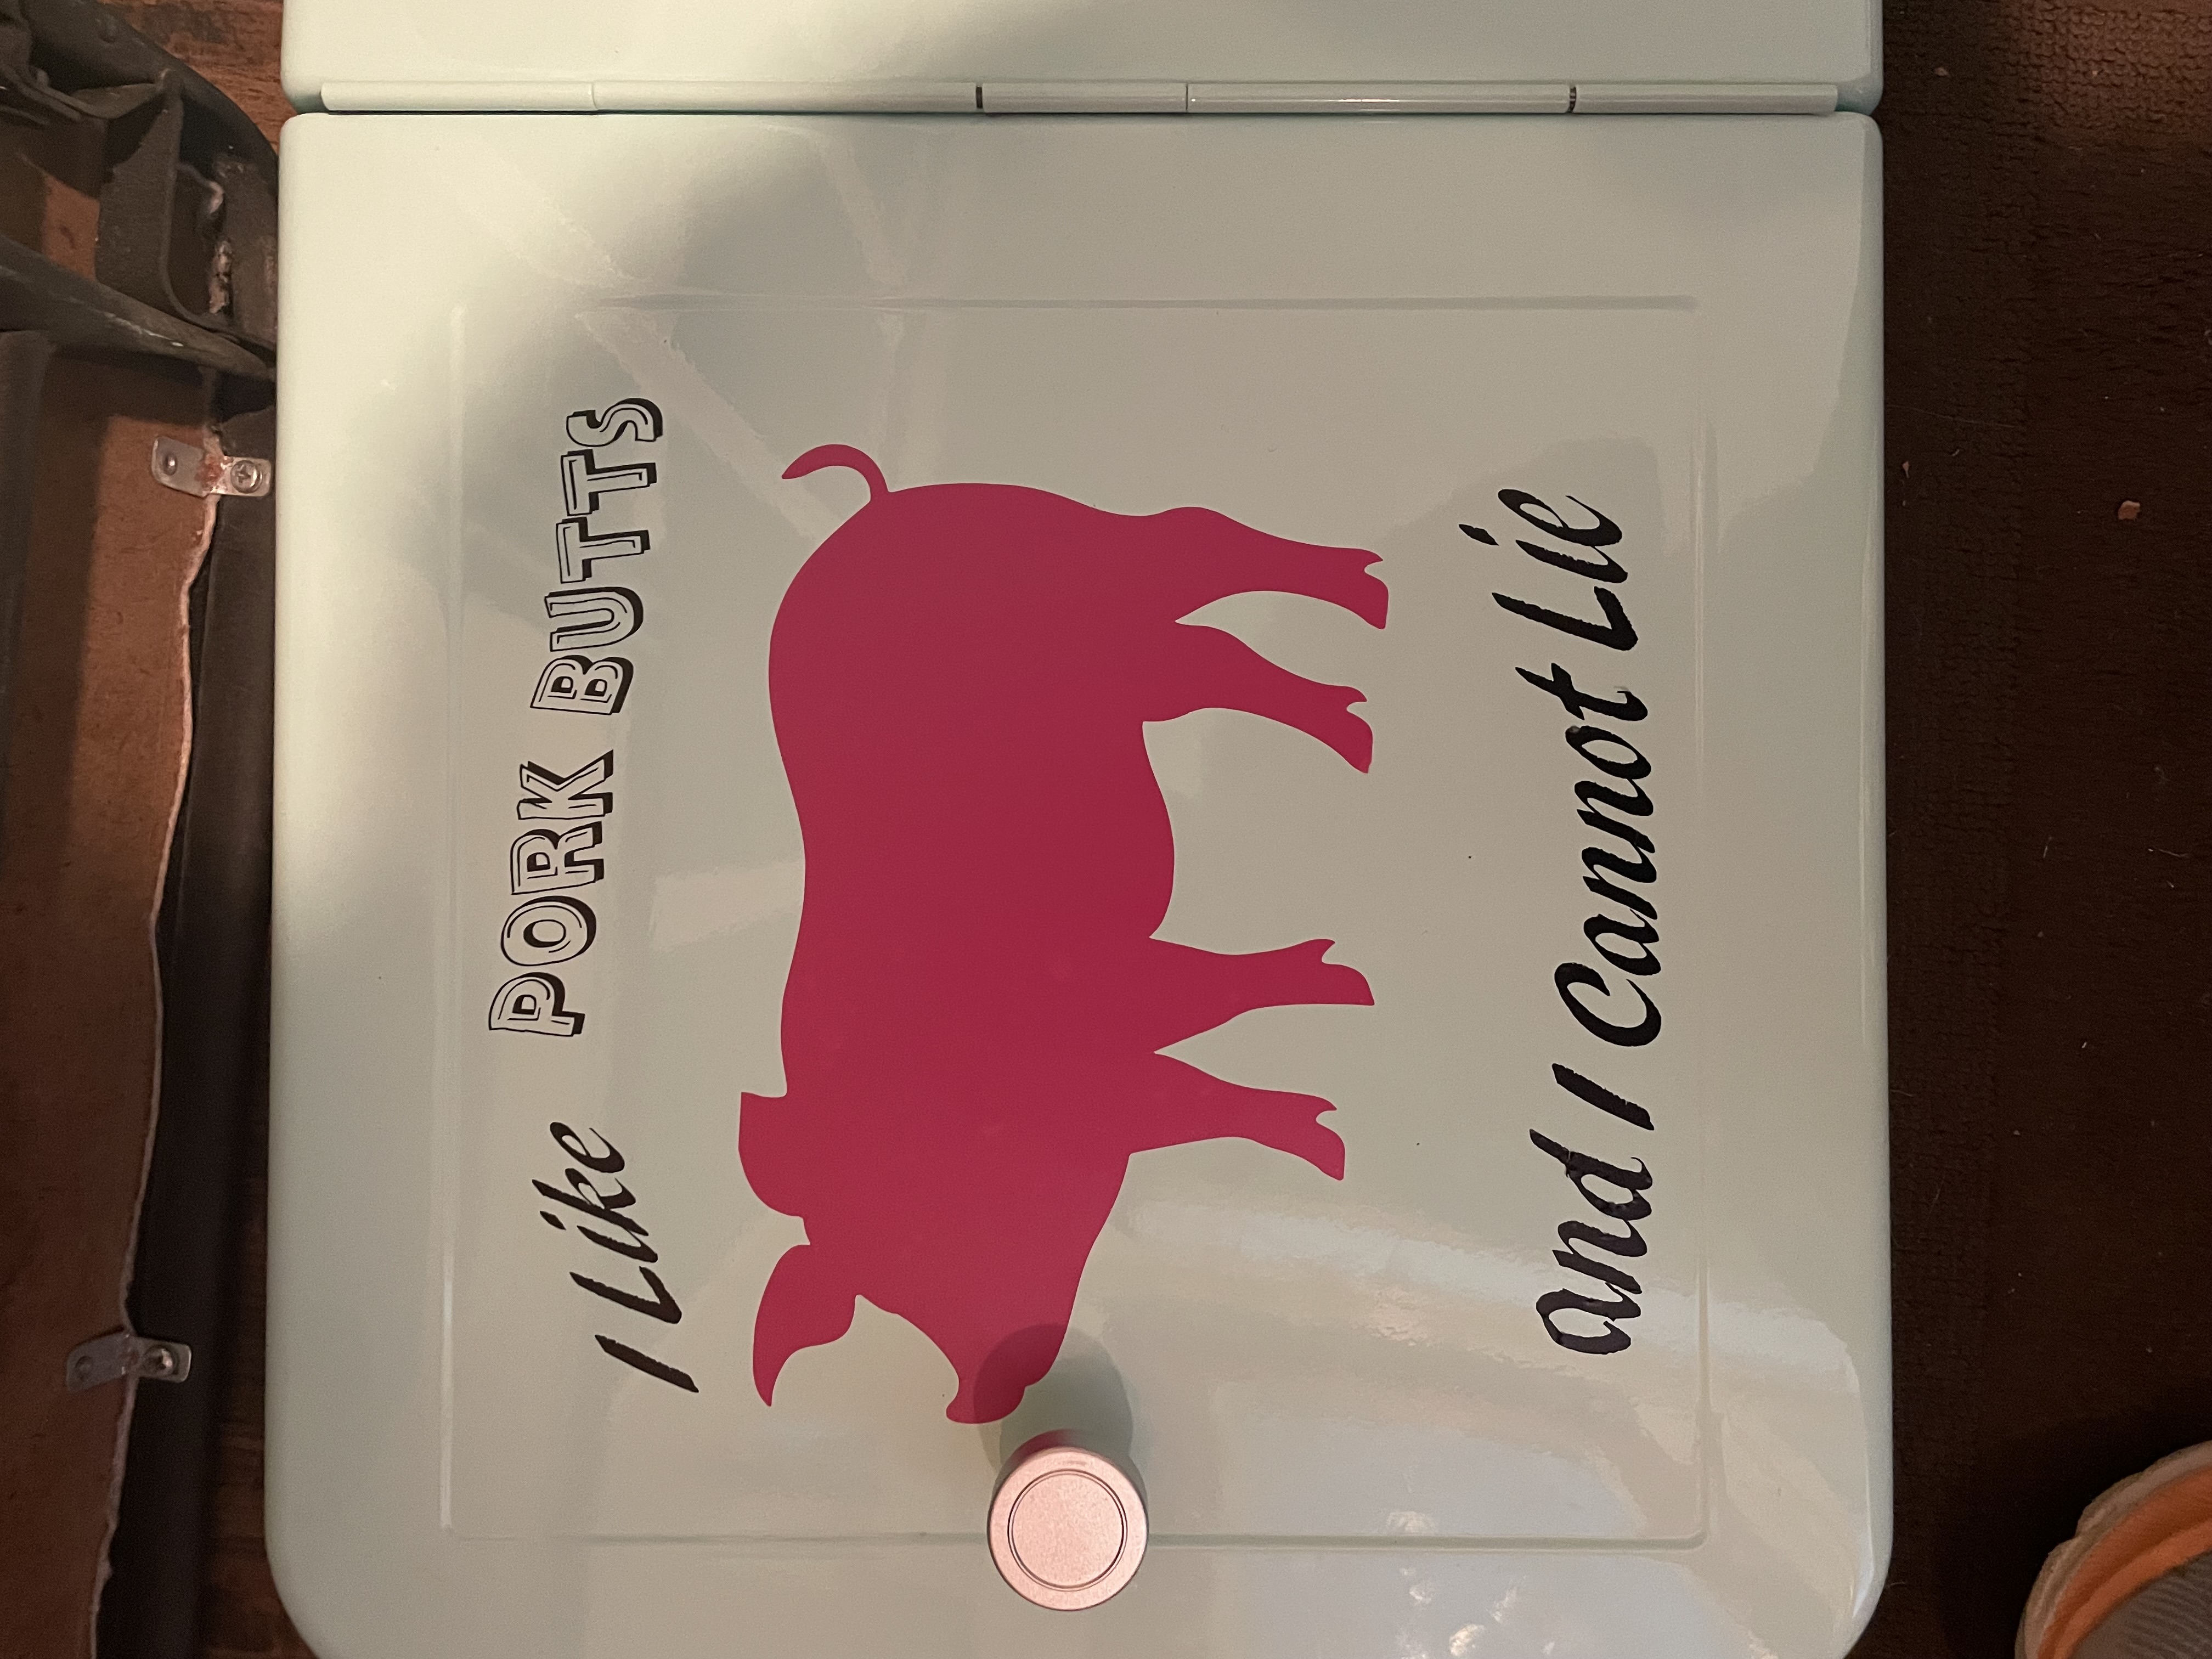
I made a first time vinyl project to go on a cooler with removable vinyl. Will it have been better to do it with permanent vinyl to last?
What vinyl works well on plastic cups, bowls, etc.
I see lots of discussion regarding Laser cuts. Can a Cricut maker do Laser cuts or do you need a special machine for this?
Hello all. I'm trying to print, then cut on my Cricut Maker. What printer would you all recommend that would be able to handle the 65-80lb cardstock?
Hello all. I'm trying to print, then cut on my Cricut Maker. What printer would you all recommend that would be able to handle the 65-80lb cardstock?