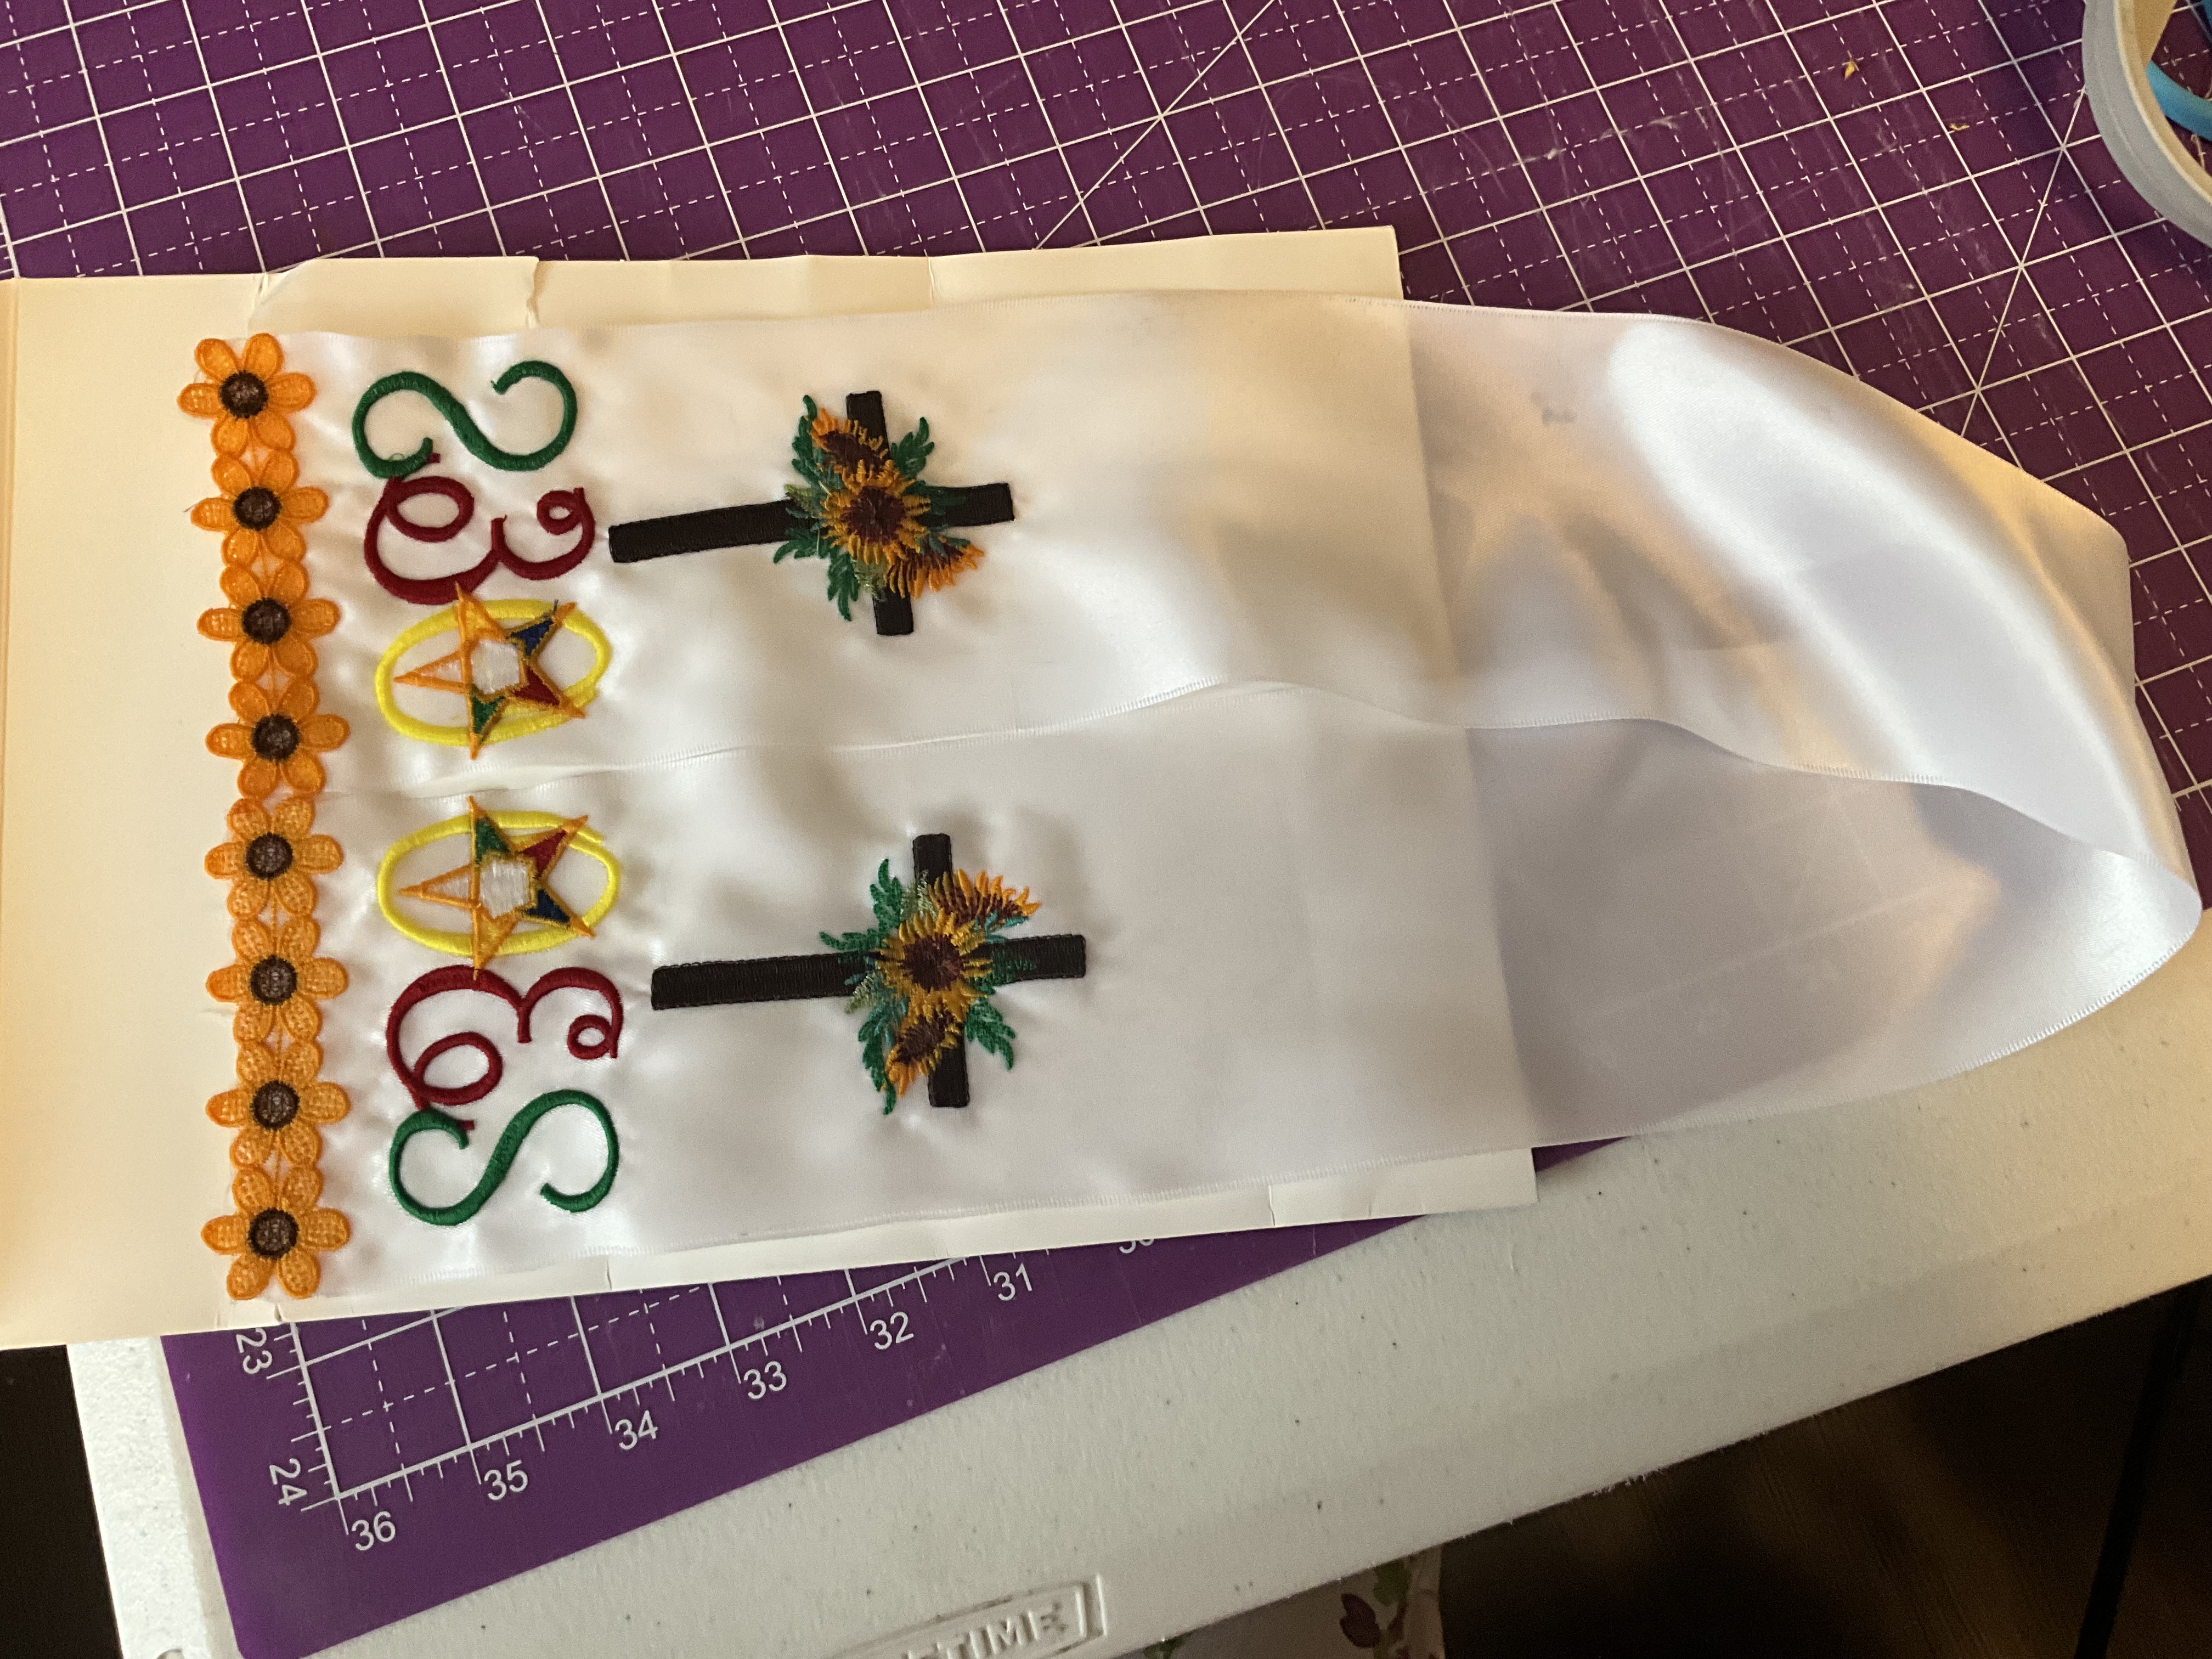
How to separate compound vectors to laser on various woods?
Creating intricate designs with multiple layers and materials is a delightful journey in laser cutting.
Steps to Separate Compound Vectors
Step 1: Identify Layers
Begin by identifying the different sections in your vector design that need to be separated for lasering on various woods. Each section should represent a different material or depth.
Step 2: Layer Management
In your vector designing software (like Adobe Illustrator or Inkscape), use the layering feature to separate your design. Assign each part of the design to different layers based on the material or laser intensity required. This helps in clear delineation when processing the job.
Step 3: Organizing Layers for Cutting
Arrange the layers in the sequence you intend to cut or engrave them. Typically, engraving layers are processed first, followed by cutting layers, but adjust this based on your project's needs.
Step 4: Use Creative Fabrica Tools
Consider using tools from Creative Fabrica to convert and manage your vector files, ensuring they are ready for efficient laser cutting. Creative Fabrica's Vectorizer can be useful in refining your images into clean SVGs suitable for laser cutting.
Things to Consider
Material Considerations
Different woods react differently to lasers. Make sure to test your settings on a small piece of wood first, especially when mixing materials. Consider grain direction, thickness, and finish.
Laser Settings
Adjust your laser's power and speed settings for each type of wood. Softer woods may require less power, while harder woods might need more.
With patience and precision, you can craft unique, layered pieces perfect for showcasing on Etsy or at craft fairs. Happy crafting! 🚀
More Related Questions

Is there something here on CF that will let me create repeating patterns easily?
Creative Fabrica offers several tools and resources that can help you create repeating patterns with ease! 🎨
Creative Fabrica Studio Features
Editable Templates
Use a variety of templates to kickstart your pattern design process.
Layer Management
Allows you to easily manage the elements of your design, making the creation of repeating patterns smoother.
Wide Range of Assets
Access a vast library of assets—including backgrounds and patterns—you can integrate into your repeating designs.
Drawing Tools
Gives you the freedom to draw and incorporate custom elements into your patterns.
CraftGenie's Tips for Repeating Patterns
Consider using tiles strategically within your design to create seamless repeats. Symmetry and consistent spacing can help achieve that perfect flow in patterns.
Feel free to explore these features and unleash your creativity with beautiful repeating patterns! Happy crafting! 🖌️
Is it possible to use a Cricut machine to engrave on acrylic glass?
Absolutely! You can use a Cricut machine to engrave on acrylic glass with the correct settings and tools.
Requirements for Engraving on Acrylic with Cricut
Cricut Maker Machine
The Cricut Maker is the most suitable model for engraving as it has the power and precision needed for detailed work.
Engraving Tip
Use the Cricut Engraving Tip that is designed to work specifically with the Cricut Maker.
Acrylic Sheets
Ensure you're working with the right kind of acrylic. Thinner sheets around 1/16 inch thick are recommended.
Steps to Engrave on Acrylic
Prepare Your Design
Create or upload your design in Cricut Design Space. Make sure to adjust the settings to engraving.
Place Acrylic on the Mat
Use a StrongGrip mat to hold the acrylic in place and tape it using masking tape for extra security.
Choose the Right Settings
Set the material to 'Acrylic' in the Cricut Design Space for appropriate pressure and depth.
Engrave
Load the mat into the Cricut Maker and start the engraving process, ensuring everything is secure.
Engraving on acrylic with a Cricut can seem magical! With this setup, you'll be crafting amazing engraved designs in no time. ✨

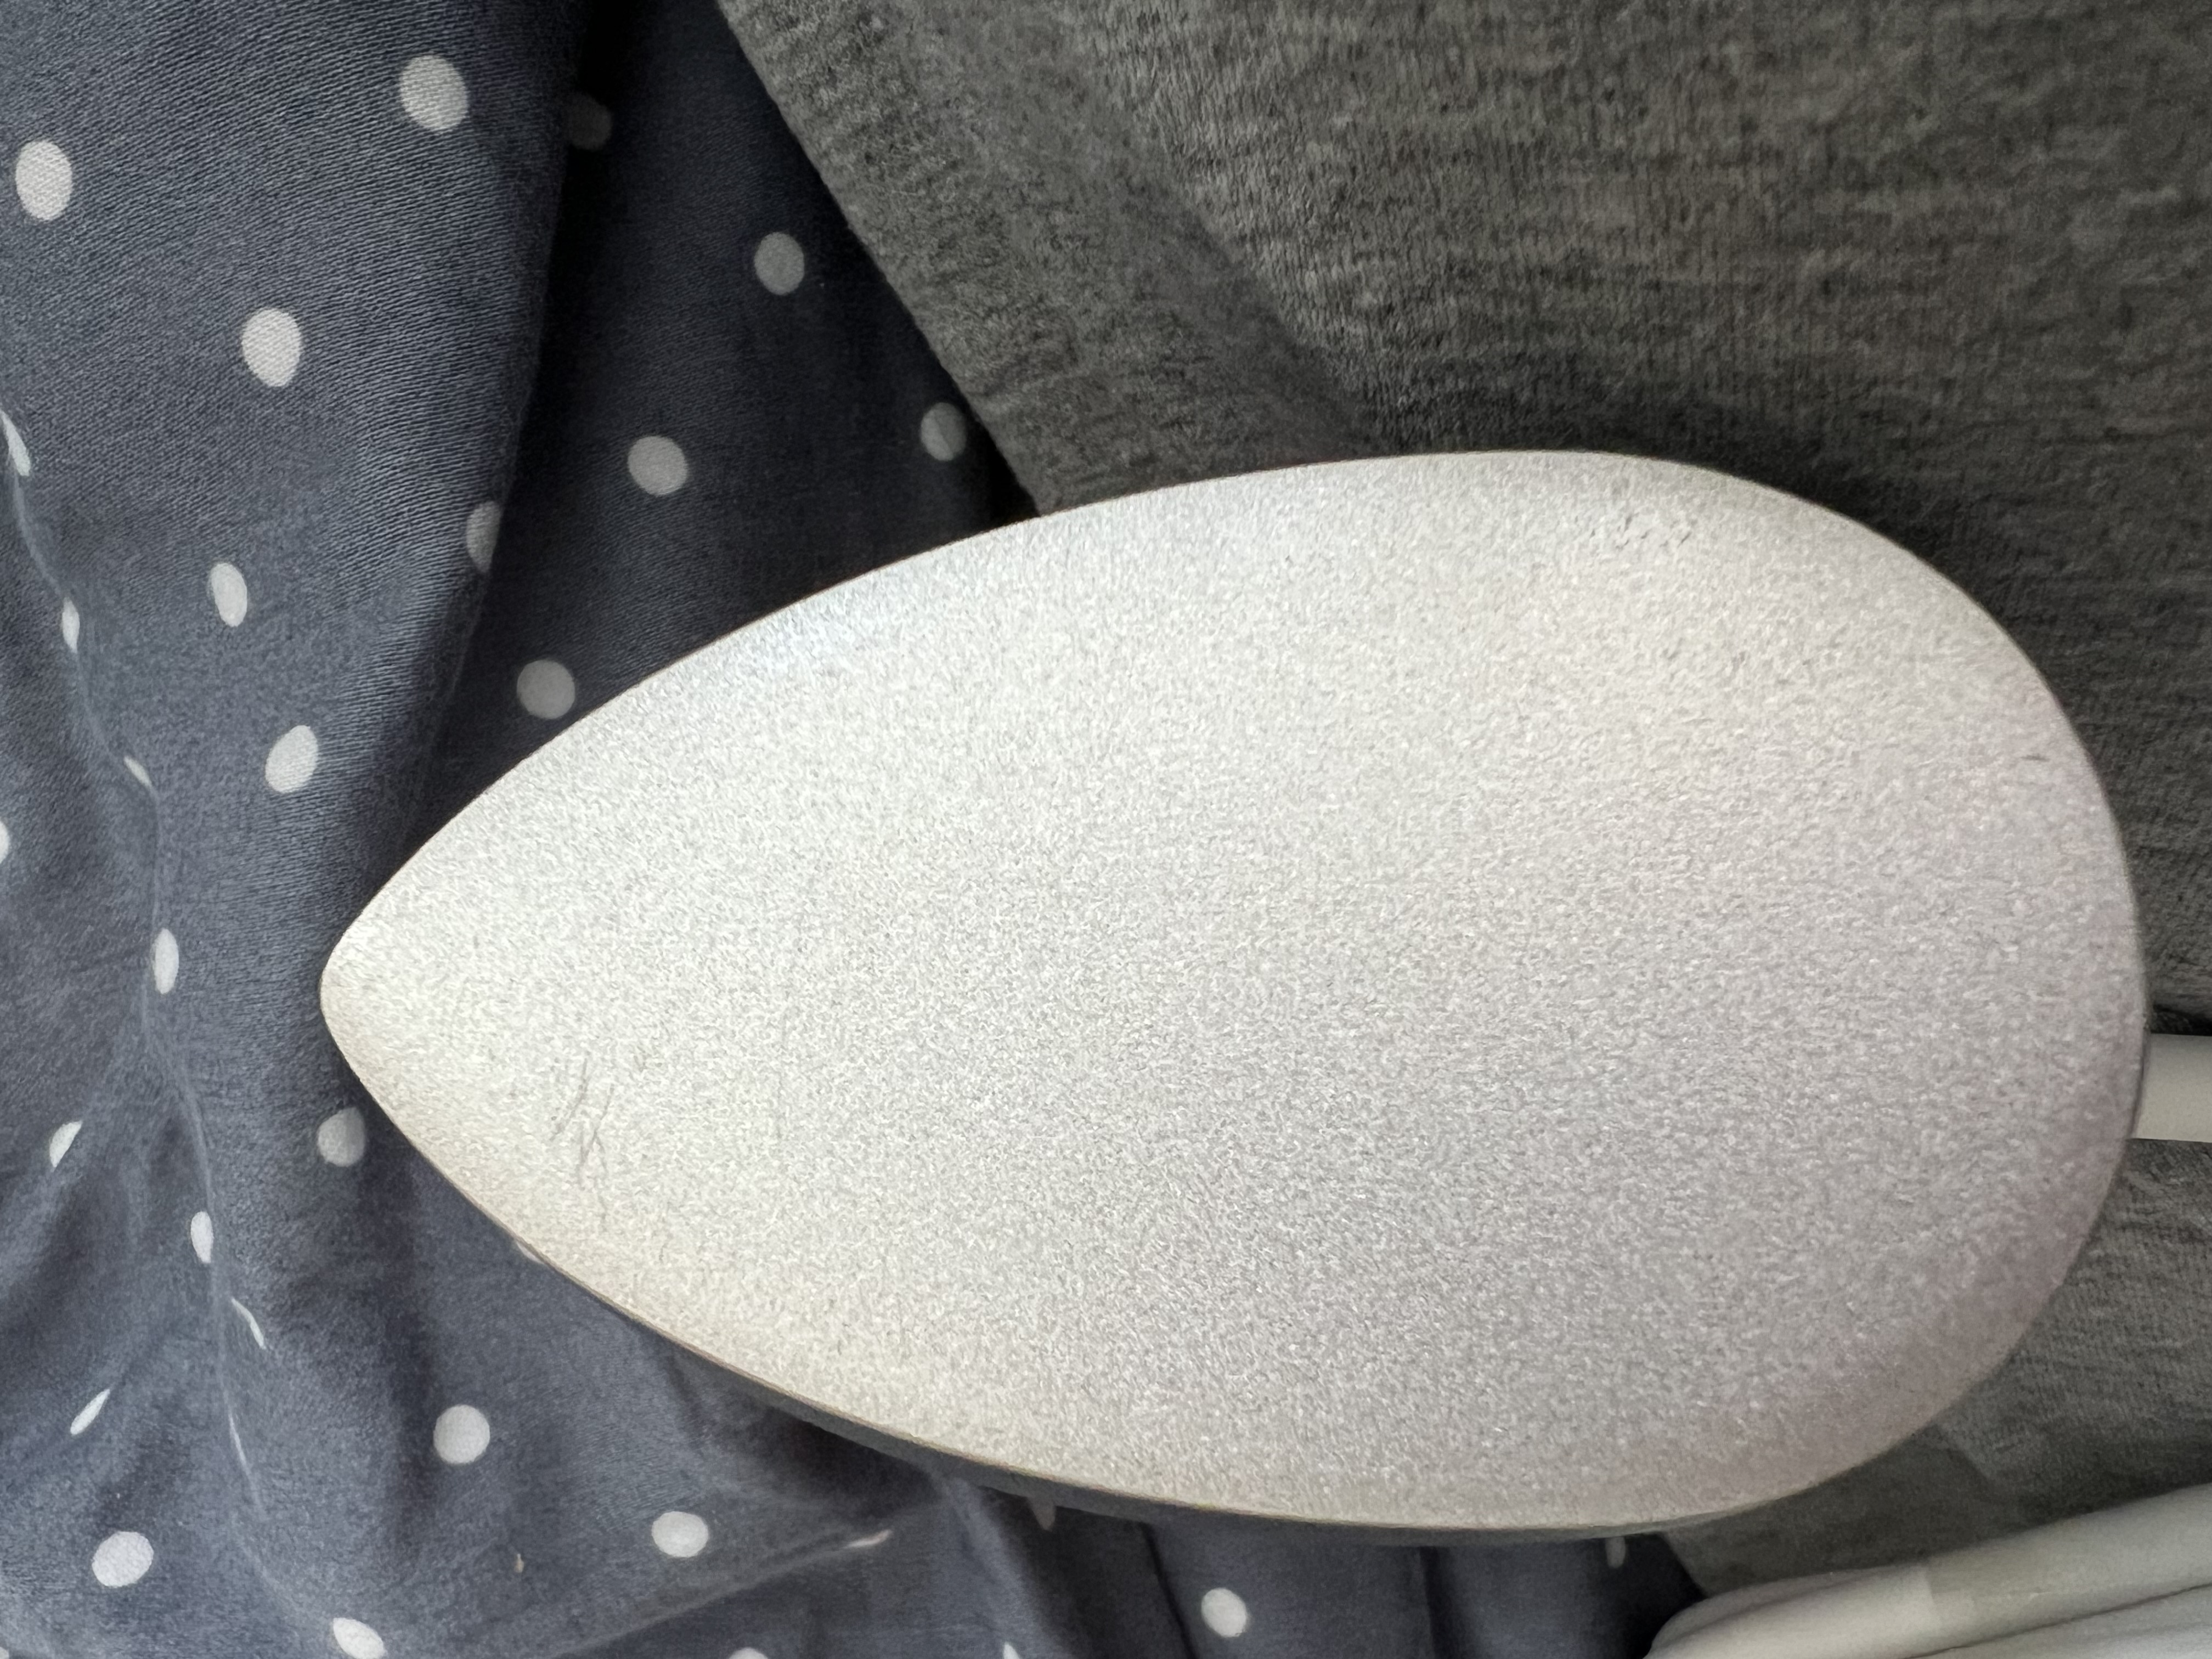
Easypress mini surface scratched I just received a “new” Easypress mini, and the surface appears to have some scratches. Is this normal or have I been sent a returned item? The packaging seemed ok?

What have you engraved with the Cricut maker? And what is a good thin wood material I can cut?

How to create svg icon v2?
How to create svg icon?

Hi what is the difference between Debossing and Embossing? I am fairly new to the card making scene, had Cricut machines for years.
What is the best setting to engrave a bottle of perfume. The bottle is clear.
Can I use designs from CF to make surface patterns for fabric printing to sell on Spoonflower?

Why do the colors of my SVG change to one color when I use attach?

What fonts are good to use with the pen option when using my cricut?

What is everyones favorite printable sticker paper to use?
Is there a Christmas ornament clubhouse?

I'm hoping someone can help me. I am working on a wood project and am trying to press HTV on the wood. My issue is that I seem to burn the wood every time and get ghosting. Prior to pressing the HTV, I sand/stain the wood, then apply poly. Help??
Do you like cut score lines or solid score lines when making 3D projects?
Hi everyone! I’m looking for big, juicy, clunky fonts to use for my DTG crafting! Where do you go to find great downloadable fonts? (Preferably free)?
Who is your favorite designer of rhinestones projects in Creative Fabrica?
Is there an embroidery/sewing club house?