How can I get the exact measurements for a tapered 40oz mug to sublimate onto. And to add a name on the tapered mid section?
Creating a sublimation wrap design for a tapered 40oz mug is a fantastic way to personalize your drinkware! Here’s how you can get the perfect fit and add a name to the tapered section:
Measuring the Mug
Start by measuring the height and circumference at both the top and bottom of the mug. Use a cloth measuring tape to get precise dimensions. Note the measurements down as you'll need them to create the template.
Creating a Template
With your measurements, you can create a trapezoid template representing the tapered shape. If available, use design software or tools that allow for template creation. Alternatively, you might find printable templates that you can adjust to size.
Adding a Name to the Design
Once you have your template, import it into a design software where you can work on adding details like text. Use text tools to place a name exactly where you'd like on the tapered middle section, ensuring it adjusts aesthetically with the tapering shape. Creative Fabrica Studio offers various fonts and elements that can be used to personalize your design if needed.
Testing the Design
Print a test wrap on regular paper to check the fit. Wrap it around the mug to make sure the design lines up and the name is positioned correctly. Adjustments can be made digitally before creating the sublimation print.
Once you have your design printed for sublimation, go ahead and transfer it onto the mug. It's always magical to see your custom design come to life on a piece of drinkware!
More Related Questions

Easypress mini surface scratched I just received a “new” Easypress mini, and the surface appears to have some scratches. Is this normal or have I been sent a returned item? The packaging seemed ok?
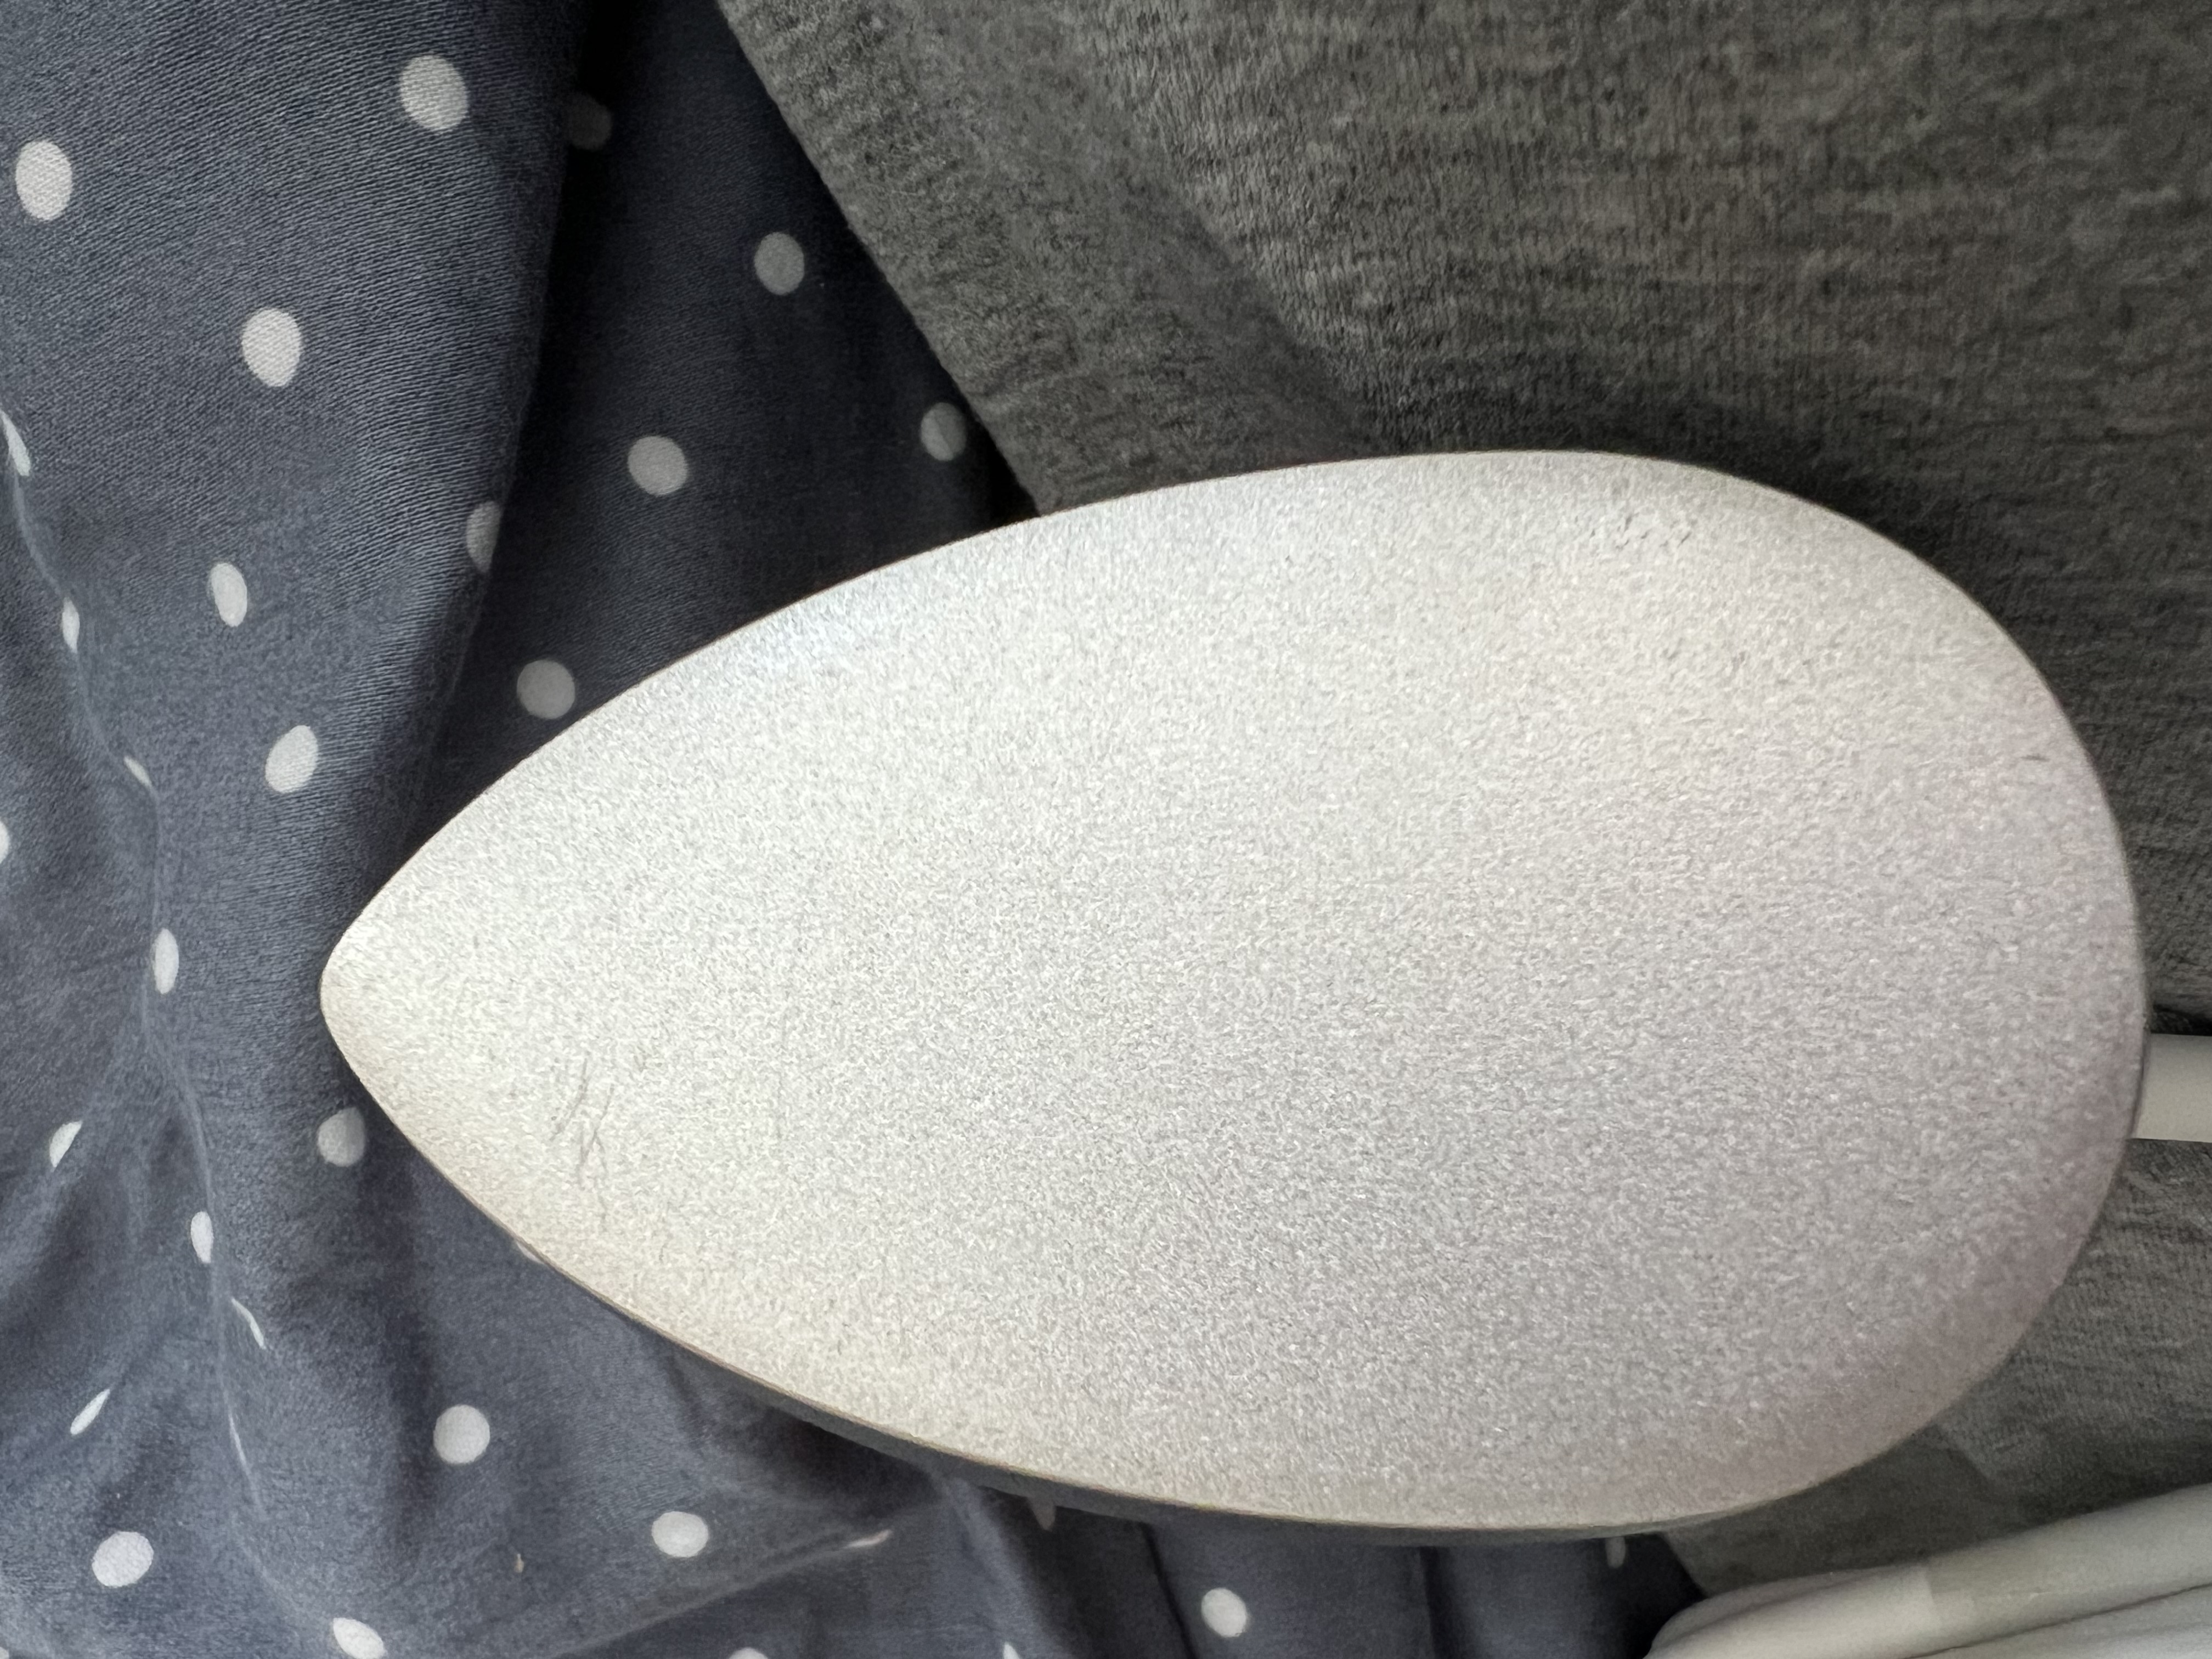
I asked Amazon for a replacement, which they managed to deliver same day. It has no scratches on the base and no black marks in the inner moulding. Much happier with this one.

What have you engraved with the Cricut maker? And what is a good thin wood material I can cut?
Engraving with your Cricut Maker can unleash a world of creativity! It's quite exciting to personalize your projects.
Common Materials to Engrave
The Cricut Maker can engrave various materials like acrylic, soft metals, and leather to add a personalized touch to projects such as jewelry, bookmarks, or decorative signs.
Thin Wood for Cutting
Basswood
Basswood is an excellent choice for cutting with the Cricut Maker due to its softness and uniform grain, making it easy to achieve clean cuts.
Balsa Wood
Balsa wood is lightweight and cuts smoothly, perfect for intricate designs or models.
Enjoy exploring these materials, and let your crafting imagination run free! 🌟

How to create svg icon v2?
How to create svg icon?


What is the best stick on paper I can use to print out designs?
Hi what is the difference between Debossing and Embossing? I am fairly new to the card making scene, had Cricut machines for years.
What is the best setting to engrave a bottle of perfume. The bottle is clear.

Can I use designs from CF to make surface patterns for fabric printing to sell on Spoonflower?

Why do the colors of my SVG change to one color when I use attach?

What fonts are good to use with the pen option when using my cricut?

What is everyones favorite printable sticker paper to use?
Is there a Christmas ornament clubhouse?

I'm hoping someone can help me. I am working on a wood project and am trying to press HTV on the wood. My issue is that I seem to burn the wood every time and get ghosting. Prior to pressing the HTV, I sand/stain the wood, then apply poly. Help??
Do you like cut score lines or solid score lines when making 3D projects?
Hi everyone! I’m looking for big, juicy, clunky fonts to use for my DTG crafting! Where do you go to find great downloadable fonts? (Preferably free)?
Who is your favorite designer of rhinestones projects in Creative Fabrica?
Is there an embroidery/sewing club house?