Creating wavy text is a fun and whimsical design element that can add flair to your crafting projects! 🌊 Here's a step-by-step guide on how to achieve it:
Using Design Software
Adobe Illustrator
Use the 'Warp' tool found under 'Effects'. Select your text, then go to 'Effect' > 'Warp' > 'Flag' or 'Wave' to customize the wave effect.
Inkscape (Free)
Apply a 'Path Effect'. Write your text, convert it to a path, and add a 'Bend' path effect which can be adjusted to achieve your desired wave.
Canva or Creative Fabrica Studio
Use integrated text effects. While precise wavy effects might not be available, experimenting with available warp and curve tools can yield a similar look.
Have fun experimenting with these techniques to add dynamic wavy text to your creations! 🎨
More Related Questions
Has anyone felt like they've hit a bump or a slump with pressing a design onto a tumbler, even though they've pressed many that came out great before? I feel like I lost my touch a little. Any advice?
It's completely normal to hit a creative bump from time to time, even with crafts or techniques you know well!
Troubleshooting Tips for Tumbler Pressing
Review Your Process
Ensure you're following all the steps consistently, from properly cleaning the tumbler to the correct pressing time and temperature.
Check Materials
Sometimes a change in material quality (like the vinyl or sublimation paper) can affect the outcome. Make sure everything is in good condition.
Adjust Settings
If you've changed your equipment settings, like temperature or pressure, try returning to the ones that worked well before.
Experiment
Sometimes it's helpful to try a new method or technique to reignite your creative spark. It could be a different type of design or color palette.
Things to Consider for a Fresh Approach
Inspiration from Others
Joining crafting communities or following other crafters online might provide new ideas or tips.
Try a New Technique
Explore different techniques, like multi-color designs or adding personal touches like names or quotes.
Creative Fabrica Resources
Utilize Creative Fabrica tools like the Vectorizer to experiment with new designs or the Background Remover if working with images.
Keep at it, and your touch will surely return. There's always a creative genie inside you waiting to work its magic! 🌟
What is a good way to soften the edges of a sublimation design so it doesn't look like a square on material?
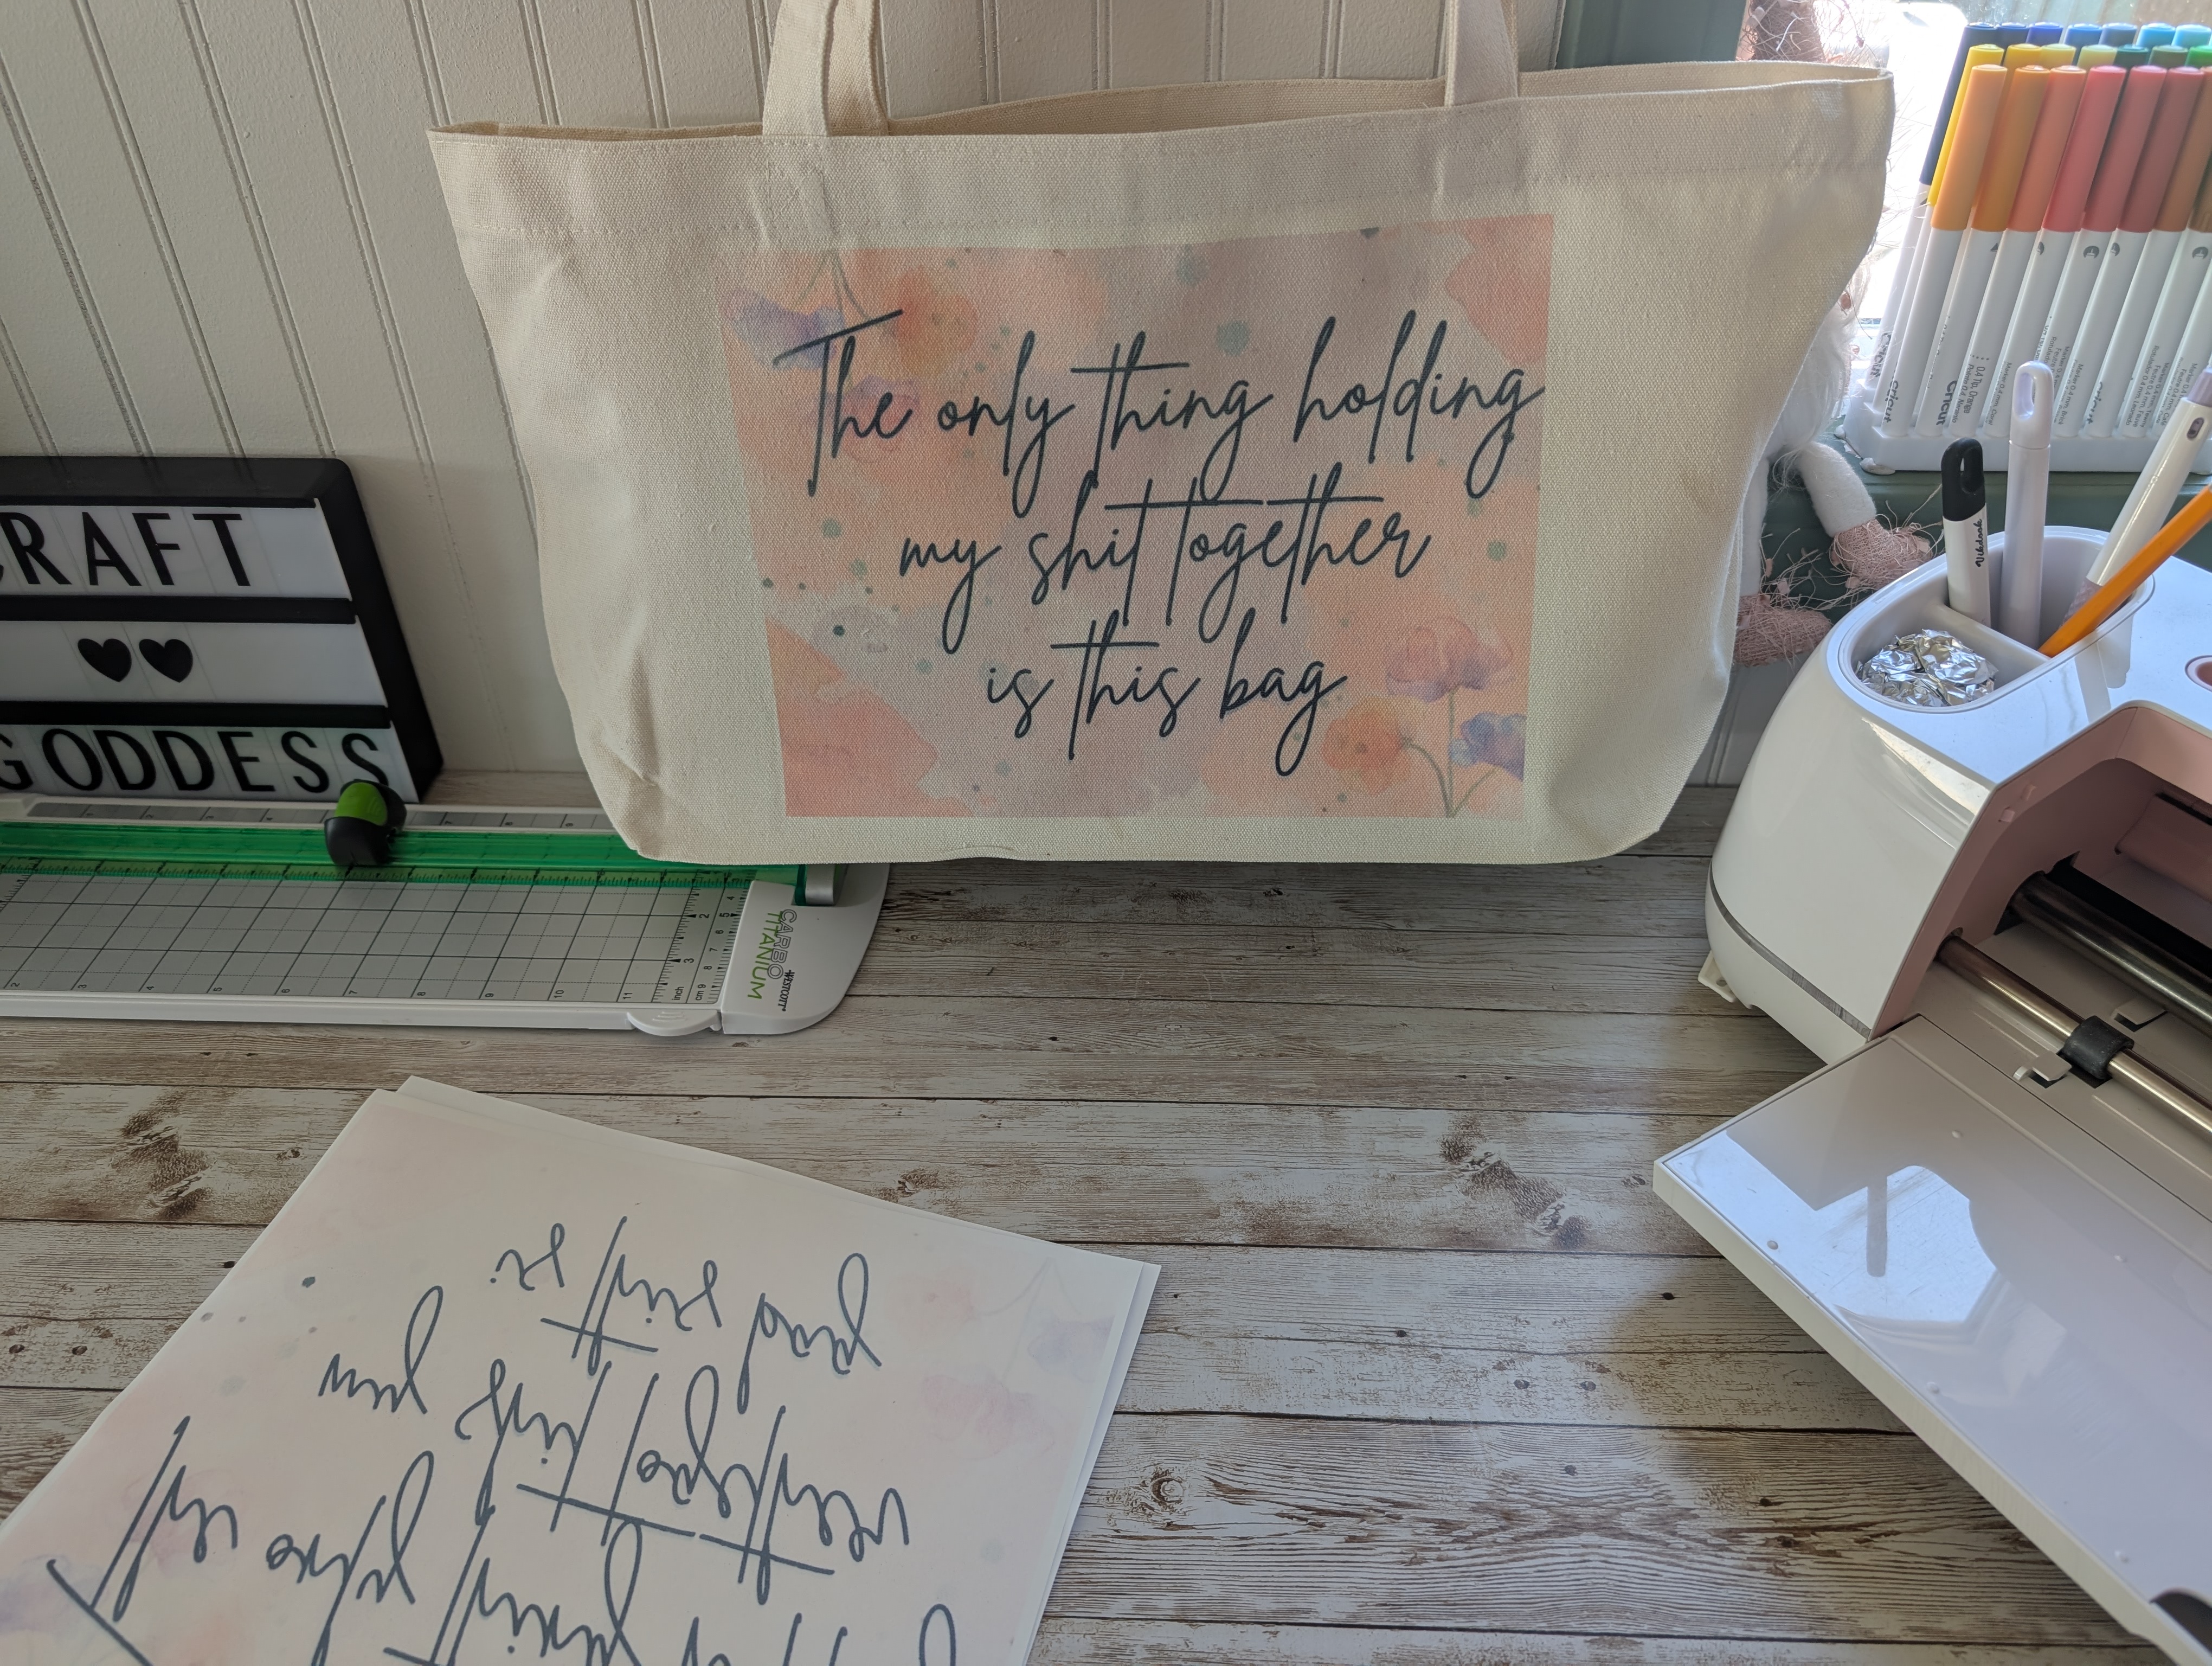
Softening the edges of a sublimation design is a wonderful technique to achieve a more blended and natural appearance on fabric.
Techniques to Soften Sublimation Design Edges
Use a Feathered Edge
In design software, apply a feather effect to the edges of your design. This blurs the transition between the design and the fabric, providing a softer, more blended effect.
Add a Watercolor Effect
Incorporate a watercolor background or elements that naturally taper out to seamlessly integrate the design into the material.
Fade Outwards
Design your graphic so it naturally fades to transparency or the color of your fabric towards the edges. This can be achieved by using gradient tools in your design software.
Texture Overlay
Apply a textured overlay that gradually diminishes in intensity towards the edges. This adds a seamless look by blending the design with the fabric’s texture.
Use Creative Brushes
In digital design software, use textured brushes around the edges of your design to create a less uniform and more integrated look.
Creative Fabrica Studio Tools
Studio Editable Templates
Utilize Creative Fabrica's templates which allow for customization and effects to achieve smoother edges.
Experimenting with these techniques will help you create visually appealing sublimation designs that blend beautifully with the fabric's surface. Happy crafting! 🎨
